
Categories: Property Management, Apartment Turnovers, Make-Ready Cleaning
Here's the truth nobody likes to talk about: every day a unit sits vacant costs you money. Like, real money. We're talking $50-100 per day in lost rent, depending on your market. That adds up fast.
The difference between a 10-day turnover and a 5-day turnover? That's potentially $250-500 straight out of your pocket. Multiply that across multiple units, and suddenly we're talking about numbers that actually matter to your bottom line.
The good news? Most of that wasted time comes from disorganization, not the actual work. When you follow a systematic approach, turnovers become predictable, faster, and way less stressful.
Let's break down the exact 5-step process that cuts your vacancy time in half.
Step 1: Inspect Before You Touch Anything
This is where most people mess up. They see a dirty apartment and immediately start cleaning. Big mistake.
Take 15 minutes to walk through with your phone and actually document what you're dealing with. You're looking for:
- Damage that needs repair (holes, stains, broken fixtures)
- Weird smells that signal bigger issues
- Areas that need maintenance coordination
- The overall scope of what you're working with

Why does this matter? Because you need to know if you're looking at a 4-hour turnover or a 2-day project. Plus, if you find mold, broken appliances, or HVAC issues, you can get maintenance scheduled immediately instead of discovering problems halfway through cleaning.
Take photos of everything. Send them to your cleaning team or use them for your own checklist. This 15-minute investment saves hours of confusion later.
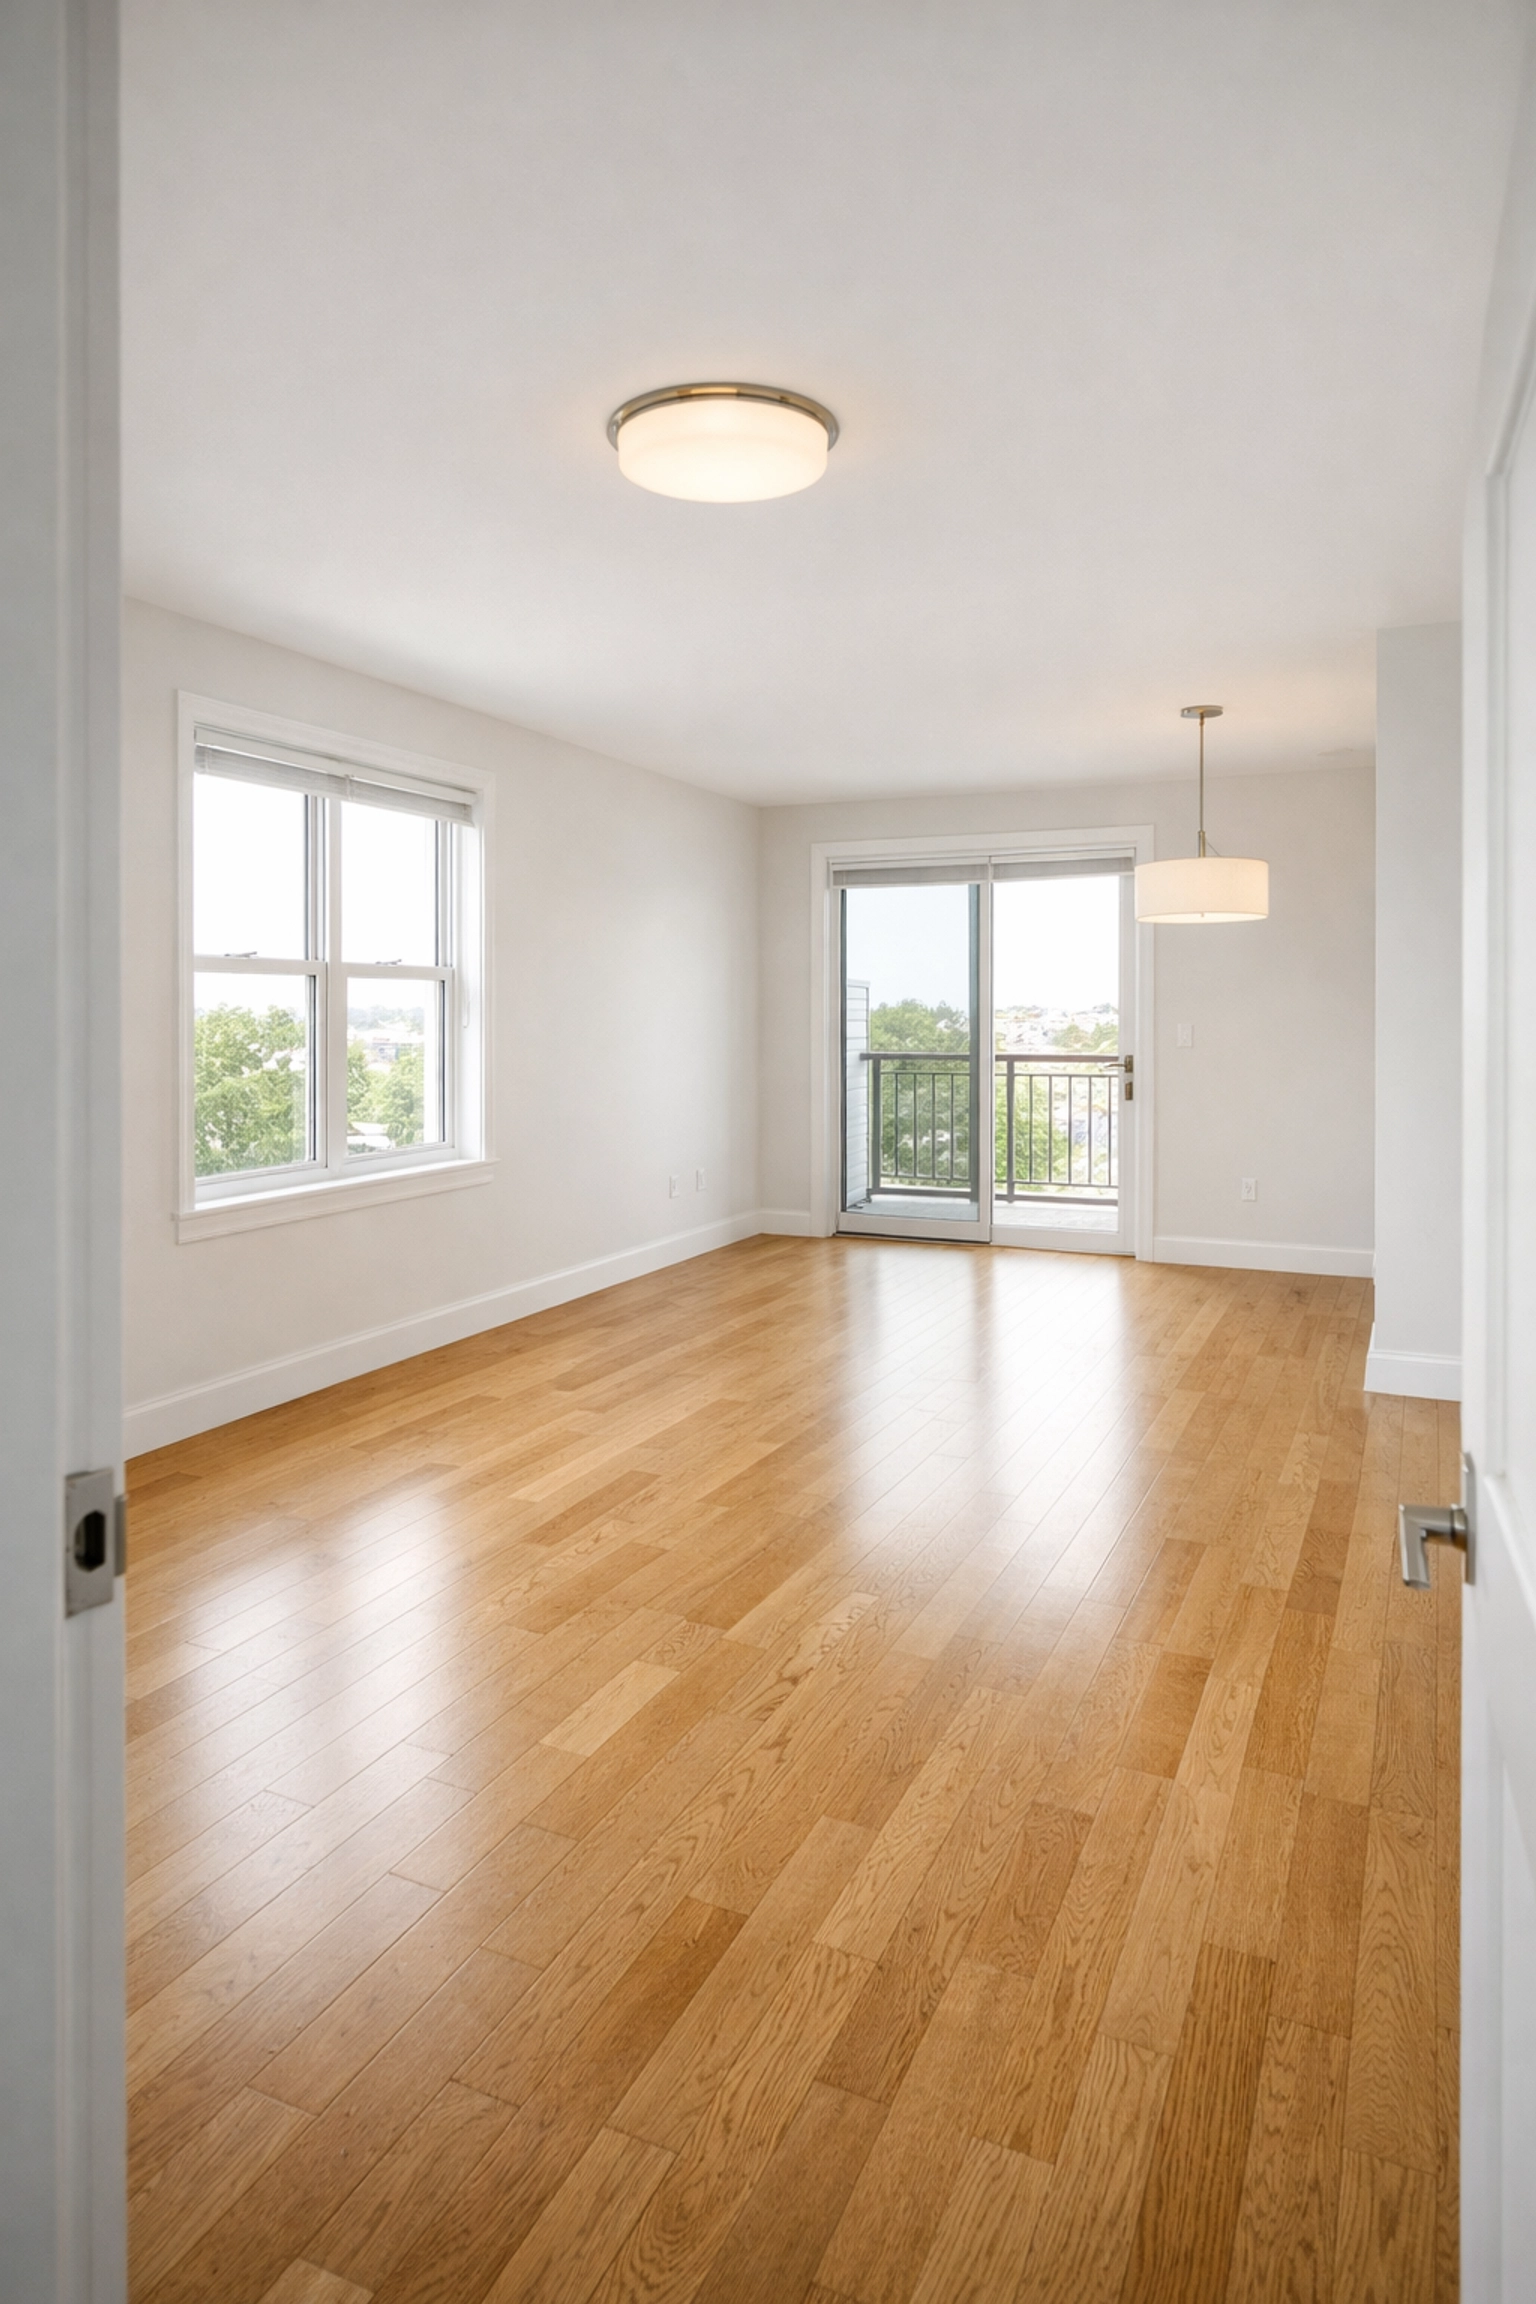
Step 2: Clear Everything Out First
You can't clean what you can't see. And you definitely can't clean efficiently when you're constantly moving stuff around.
This step is simple but non-negotiable: remove every single item the previous tenant left behind. Trash bags, old furniture, that mystery box in the closet, all of it goes.
Create a completely blank slate. This includes:
- All trash and debris
- Items left in cabinets and closets
- Stuff under sinks
- Random items on top of appliances or in storage areas
Most property managers skip this step or half-do it. Then they're back in the same room three times because they keep finding more stuff. That's not efficient. That's just annoying.
One trip with everything out beats five trips where you're constantly interrupted. Trust the process.
Step 3: Deep Clean (The Right Way)
Here's where we separate the amateurs from the pros. Deep cleaning isn't just "clean harder." It's about following a system that prevents you from redoing work.
The golden rule: Top to bottom, dry before wet.
Start at the ceiling and work your way down. Do all your dry tasks (dusting, vacuuming, wiping) before you do wet tasks (mopping, sanitizing). This way, dust and dirt fall to areas you haven't cleaned yet, not areas you've already finished.
Focus on Kitchens and Bathrooms First
These two rooms drive most complaints and re-clean requests. They're also where prospective tenants spend the most time looking during showings.
Kitchen priorities:
- Inside and outside of all cabinets
- Appliances (inside the oven, behind the fridge, under the stovetop)
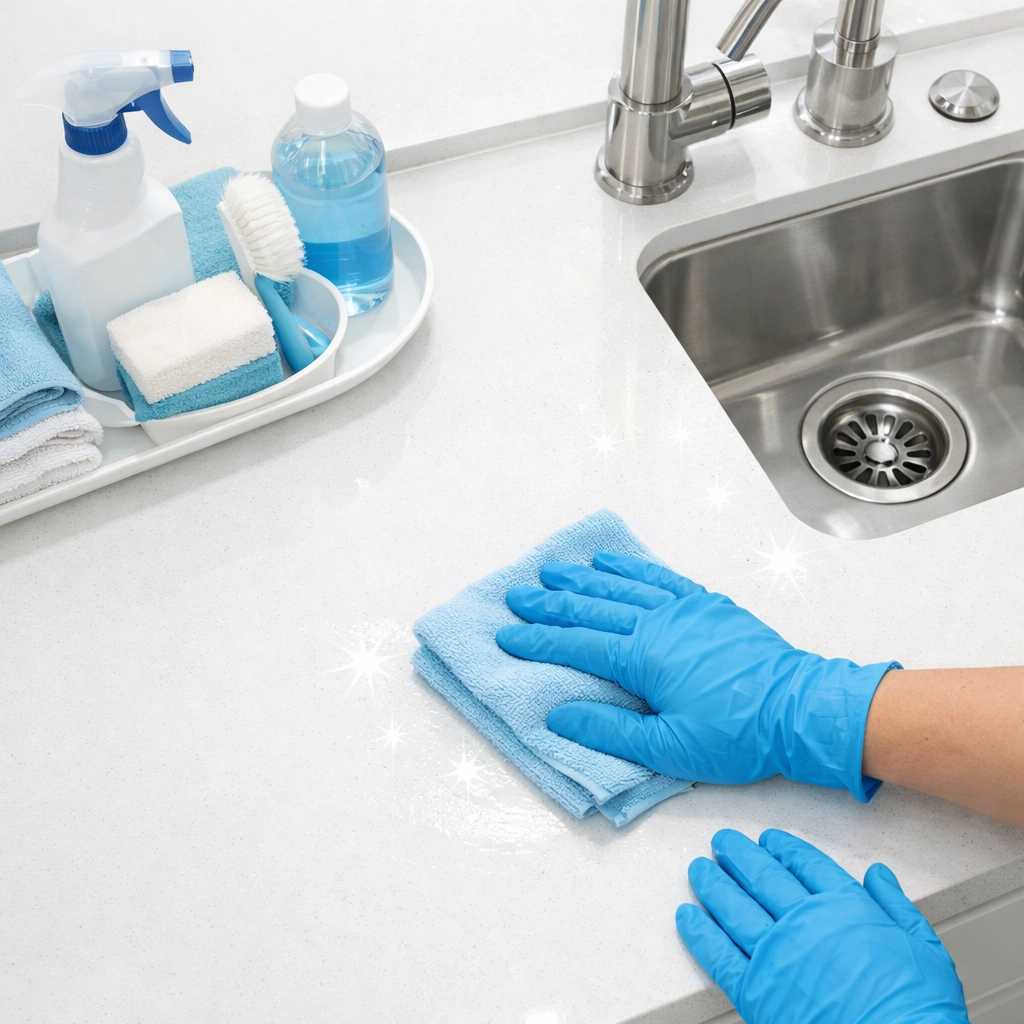
- Countertops and backsplash
- Sink and fixtures (get that drain sparkly)
- Floors last
Bathroom priorities:
- Toilet (including behind and underneath)
- Shower/tub and grout lines
- Vanity and mirror
- Any mold or mildew spots
- Floors last
Don't Forget the Details
The little stuff matters more than you think:
- Light fixtures and ceiling fans (people look up)
- Window sills and blinds (super visible)
- Baseboards and door frames (shows attention to detail)
- Inside closets (yes, people check)
- Air vents and registers (helps with smell issues)
One trick that saves time: use a consistent pattern for every room. Always start left and work clockwise, or whatever system works for you. The pattern doesn't matter. The consistency does.
Step 4: Handle Maintenance During (Not After) Cleaning
This is the coordination step that most people screw up. You don't want to paint after you clean. You don't want to fix a leaky faucet after you've already scrubbed the bathroom.
Schedule maintenance for issues you found in Step 1 to happen during or right after the deep clean. This includes:
- Paint touch-ups or full repaints
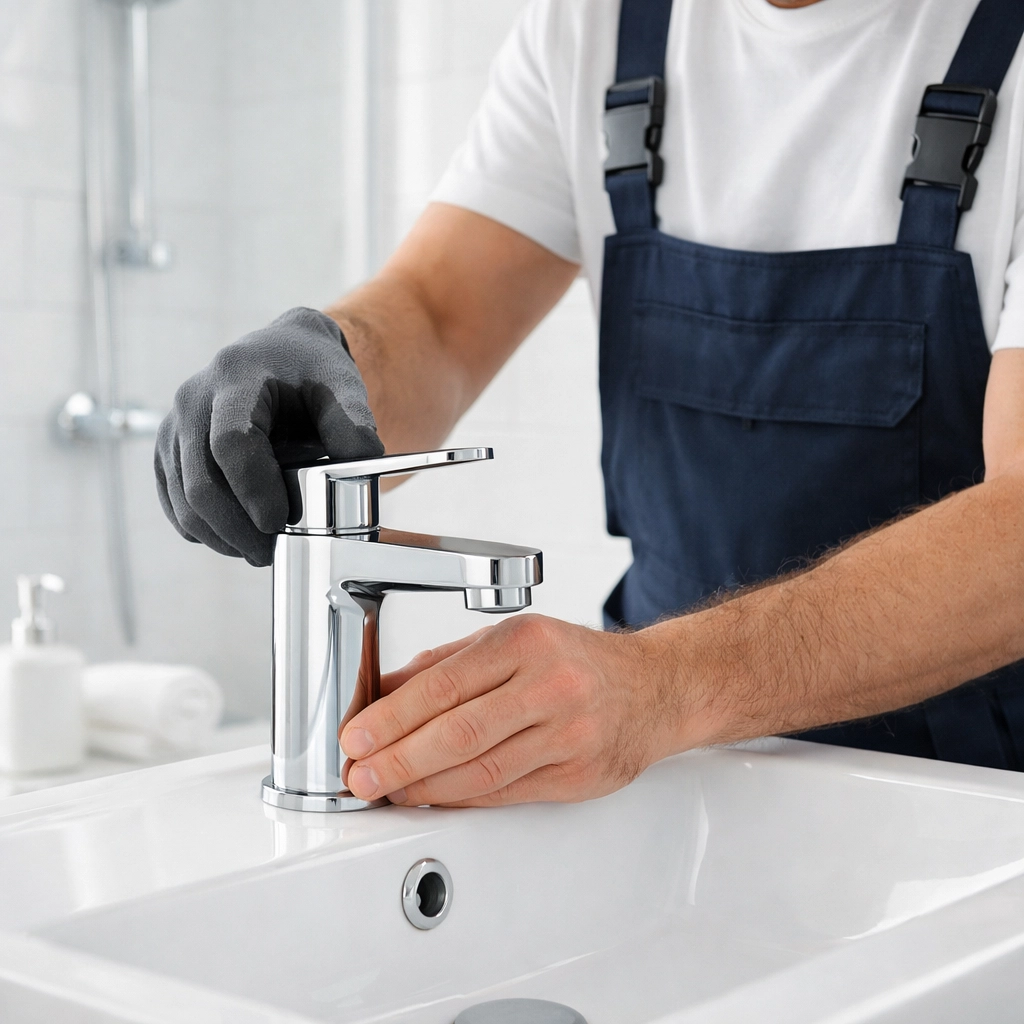
- Fixture replacements
- Caulking repairs
- Any appliance fixes
- HVAC filter changes
The key is sequencing. Heavy maintenance comes before or during cleaning, never after. Otherwise you're creating more cleaning work for yourself.
If you need to paint, do that before final cleaning. If you're replacing a toilet, get that done before you deep clean the bathroom. Work smarter, not harder.
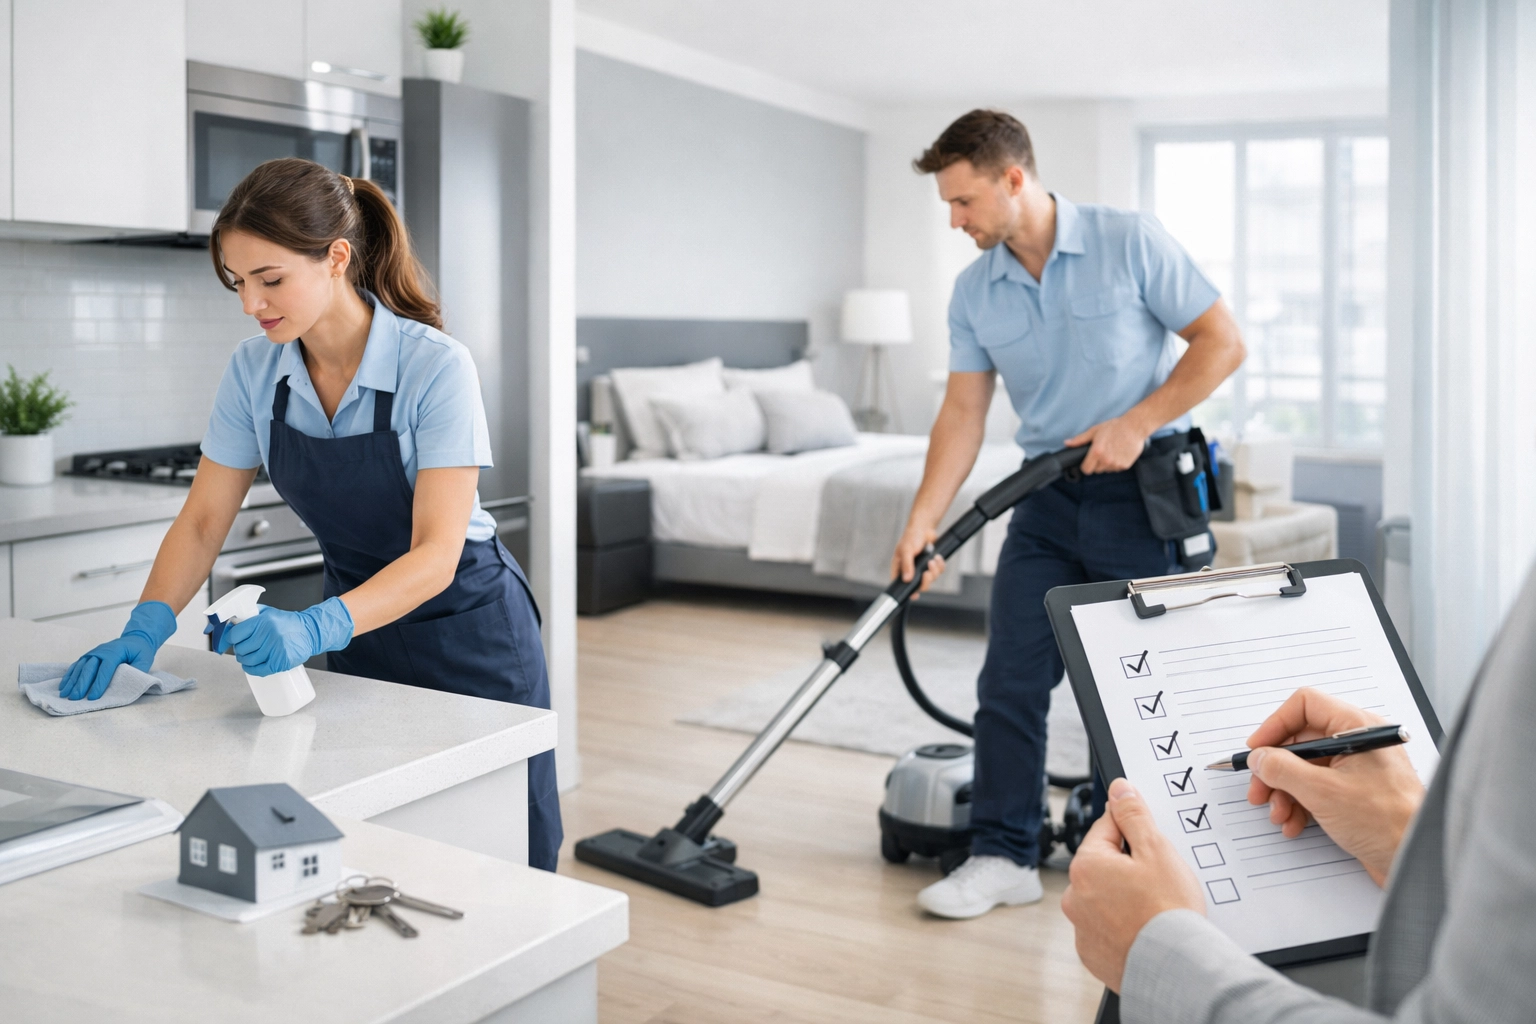
Step 5: The 10-Minute Final Inspection
This is your quality control checkpoint. Don't skip it.
Do a quick walk-through with fresh eyes. You're not doing another deep clean: you're just catching the stuff that always gets missed:
- Fingerprints on windows and glass surfaces
- Trash that somehow appeared again
- Any spots you missed during deep cleaning
- Light bulbs that need replacing
- Making sure everything actually works
Stand in the doorway of each room like a prospective tenant would. What do you notice first? That's what they'll notice too.
This 10-minute investment prevents the dreaded callback where your cleaning team has to return because someone spotted something obvious. Every return trip adds hours or days to your turnover time.
The Time-Saving System That Actually Works
Here's what really cuts your vacancy time in half: consistency.
When you follow the same process every single time, you get faster automatically. Your brain stops having to make decisions. Your cleaning team knows exactly what to expect. There's no confusion about who does what or what order things happen.
Document your process. Create a literal checklist. Share it with everyone involved in turnovers. The more standardized your system, the faster and more reliable it becomes.
Quick wins that save hours:
- Do dry tasks before wet tasks (prevents redoing work)
- Focus extra attention on kitchens and bathrooms (prevents complaints)
- Coordinate maintenance timing (prevents double work)
- Use the same pattern in every room (builds muscle memory)
- Take before and after photos (reduces disputes and re-inspections)
The Real Cost of Slow Turnovers
Let's bring this back to what actually matters: your time and money.
A typical turnover without a system: 7-10 days
A systematic turnover with this checklist: 3-5 days
That's a 4-5 day difference. At $75 per day in lost rent, that's $300-375 saved per turnover. Do 20 turnovers per year? That's $6,000-7,500 back in your pocket.
But the real benefit isn't just money. It's predictability. When you know exactly how long turnovers take, you can schedule showings confidently. You can set realistic expectations with prospective tenants. You can plan your workload instead of constantly scrambling.
Your Next Steps
You don't need fancy software or expensive equipment to implement this system. You just need to commit to following the same process every time.
Start with one unit. Document what works and what doesn't. Adjust your checklist based on real experience. Then repeat that system with every turnover.
The property managers who win aren't the ones with the biggest budgets. They're the ones with the tightest systems.
Ready to streamline your entire property management operation? Visit our site to learn how professional turnover services can take this entire process off your plate while delivering even faster results.
Your vacancy time matters. Your sanity matters. And your bottom line definitely matters. This 5-step system protects all three.