
Every day your unit sits vacant, you're losing money. Not just the obvious rent, but also the compounding costs of utilities, marketing, and the pressure to drop prices just to fill it faster.
Here's the reality: property managers who nail their make-ready process consistently turn units in 7-10 days instead of the industry average of 15-20 days. That difference alone can mean thousands in additional revenue per year, per property.
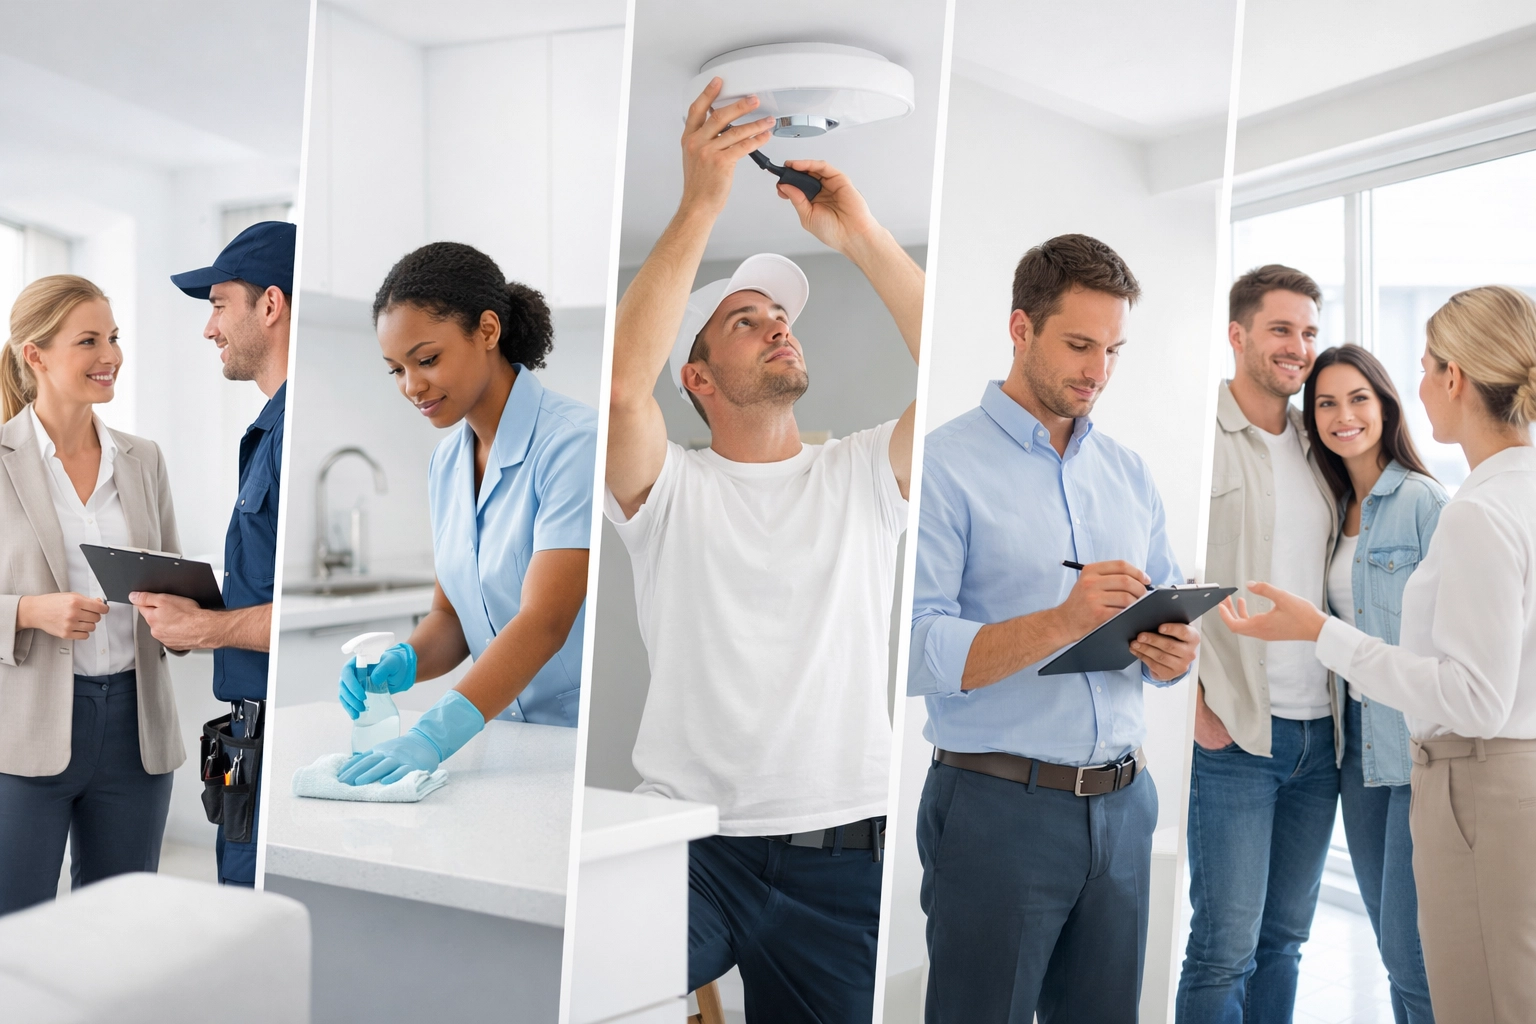
The good news? You don't need to reinvent the wheel. Follow these five straightforward steps, and you'll transform your apartment turnover from a chaotic scramble into a smooth, repeatable system.
Step 1: Do a Detailed Move-Out Inspection (And Actually Document Everything)
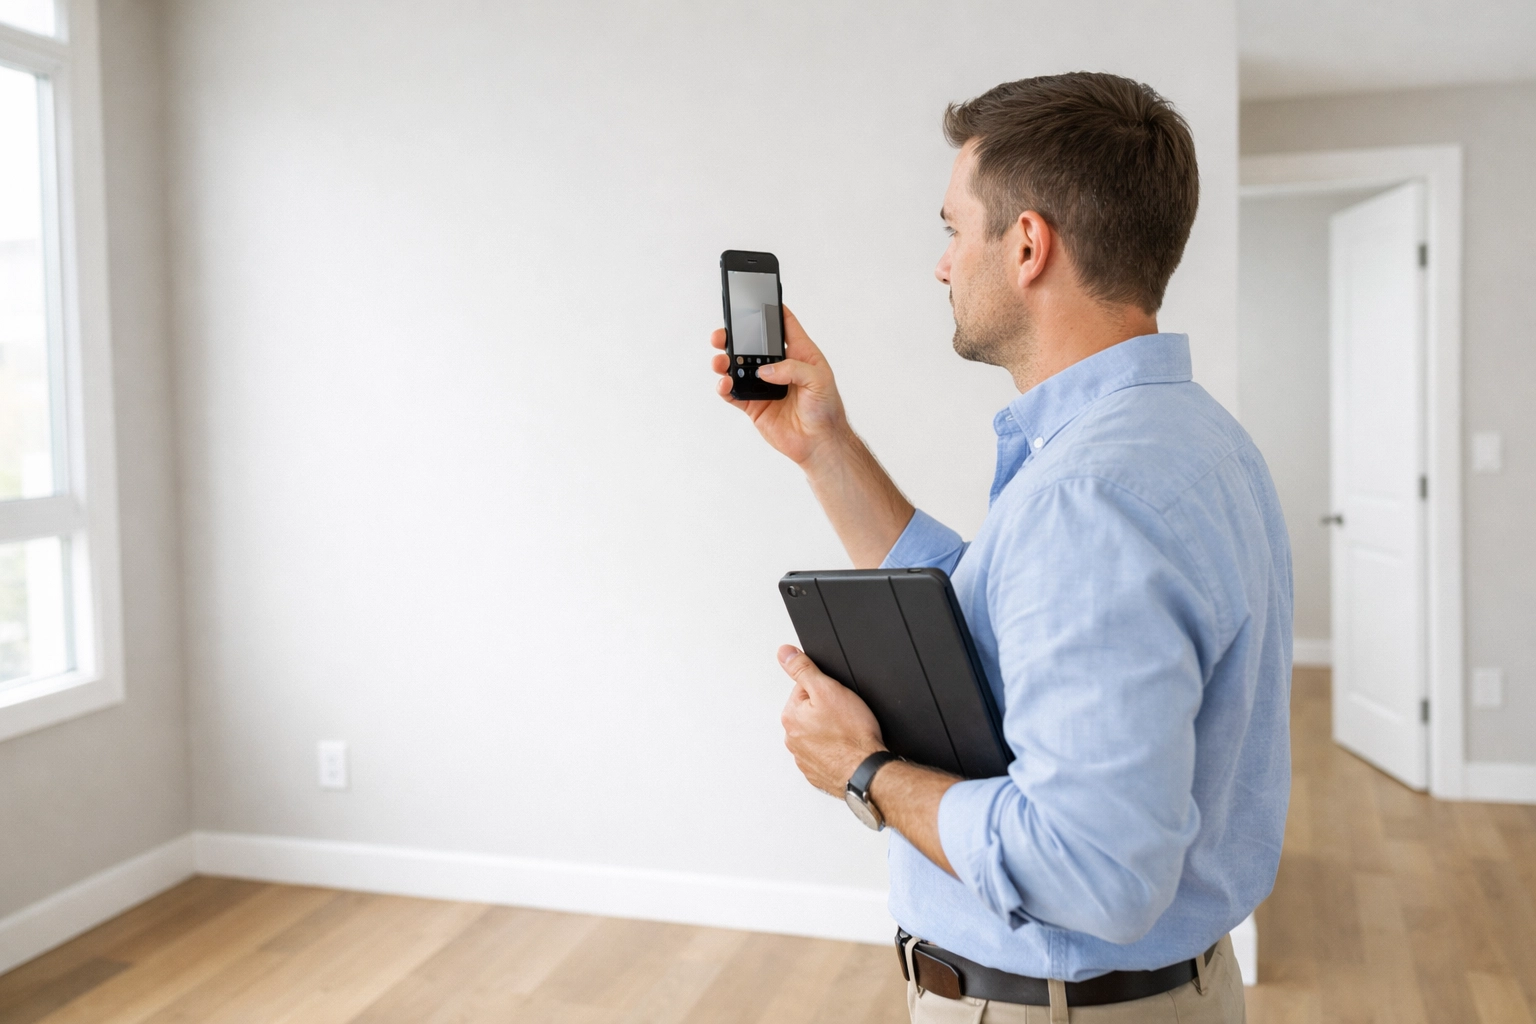
Start with a comprehensive walkthrough the moment your tenant moves out. Don't rush this part, it sets up everything that follows.
Grab your phone and take photos or videos of every room. You're looking for:
- Wall damage (holes, scuffs, marks)
- Chipped or peeling paint
- Water stains or mold (especially around windows and bathrooms)
- Broken fixtures, doorknobs, or cabinet hardware
- Countertop stains or burns
- Carpet condition and odors
- Any safety issues like loose railings or damaged flooring
Pro tip: Use a simple checklist app or even a notes document to keep track. The goal is to create a clear action plan before you start spending money on repairs or cleaning.
This documentation also protects you legally and helps you manage security deposits fairly. But more importantly, it prevents you from discovering problems mid-cleaning or, worse, after your new tenant has already signed the lease.
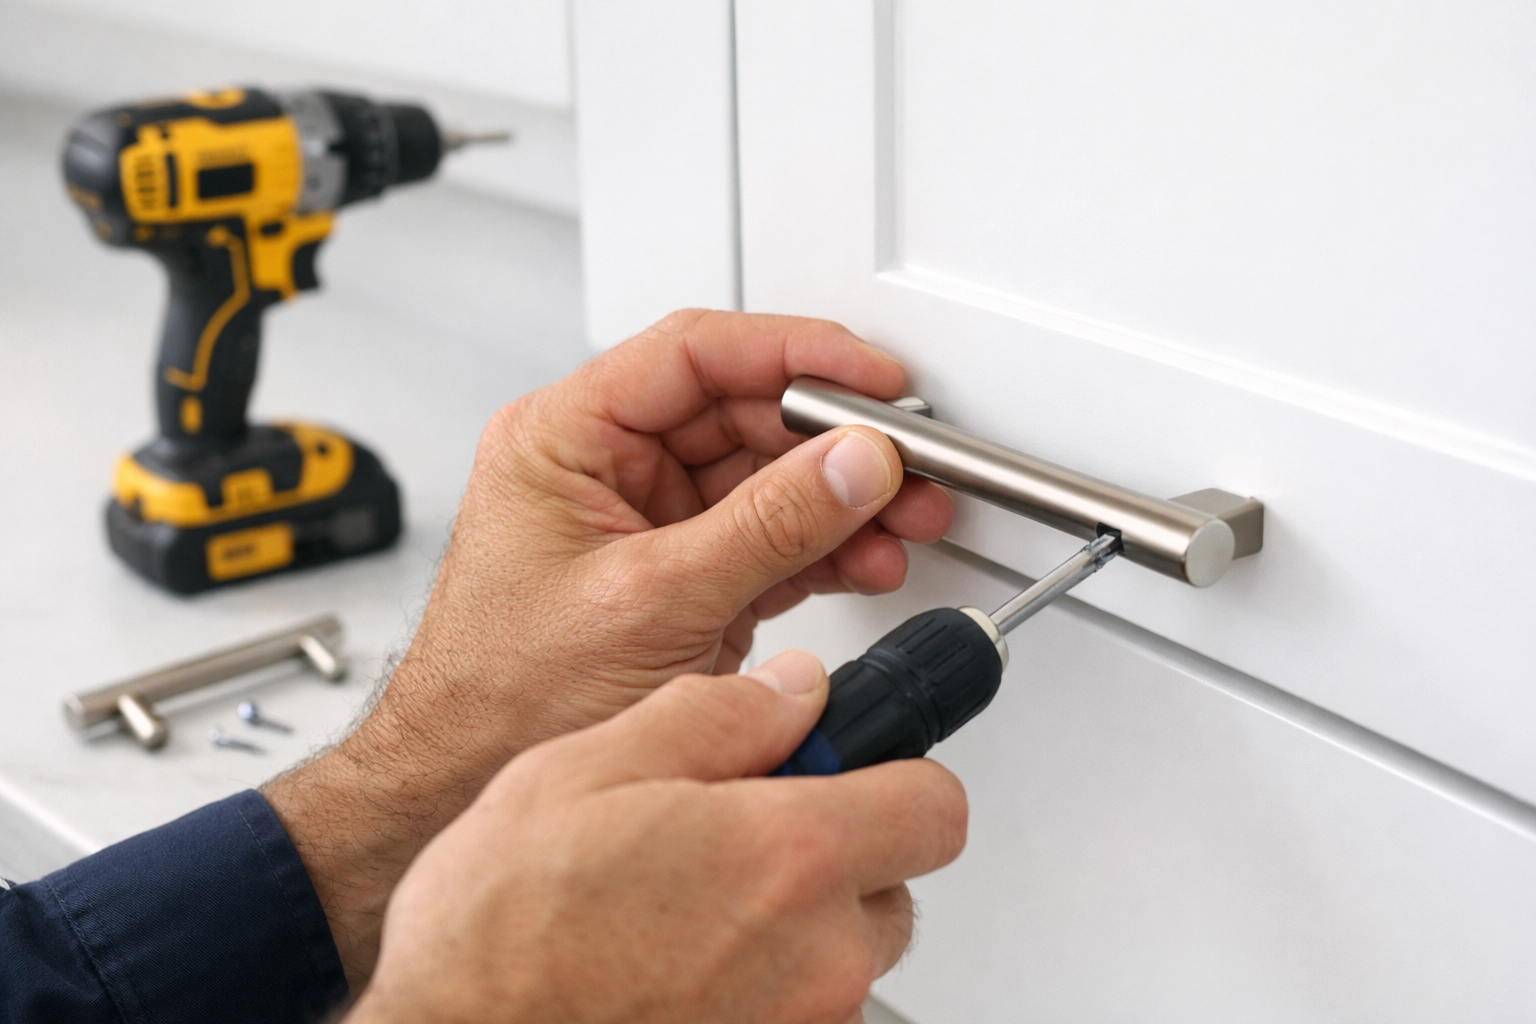
Step 2: Knock Out Repairs and Maintenance First
Here's where most property managers mess up: they clean before fixing things. Don't do this.
Complete all repairs before any cleaning crews show up. Patching walls creates dust. Replacing fixtures might scratch freshly cleaned surfaces. Paint touch-ups will definitely mess up your clean floors.
Your repair checklist should include:
Walls and Paint
- Patch all holes and dings
- Sand rough spots
- Apply fresh paint (even just touch-ups make a huge difference)
Fixtures and Hardware
- Replace worn cabinet pulls
- Fix leaky faucets
- Update old light switches and outlet covers
- Tighten loose doorknobs
Appliances
- Test everything, refrigerator, stove, dishwasher, disposal
- Replace or repair anything that's not working 100%
- Check weatherstripping on the fridge
Flooring and Doors
- Fix squeaky or sticky doors
- Lubricate sliding closet tracks
- Repair or replace damaged baseboards
Getting repairs done first might add a day or two upfront, but it prevents having to re-clean spaces and delays that really add up.
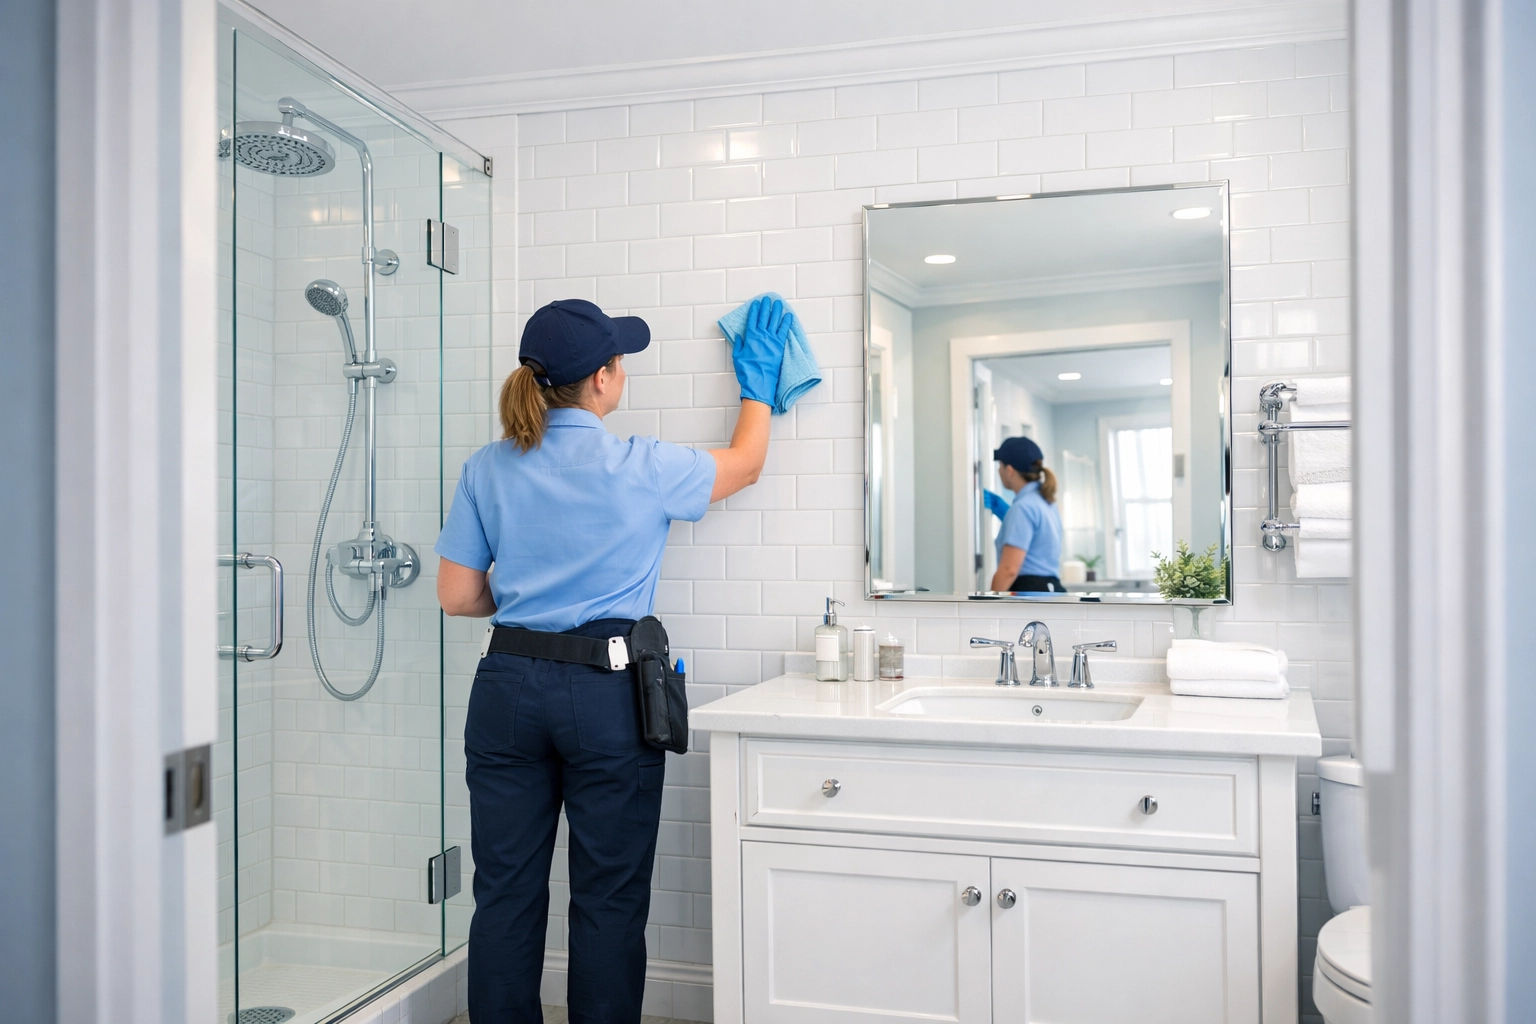
Step 3: Deep Clean Like Your Own Mother Is Moving In
Once repairs are done, it's time for the deep clean. And we're not talking about a quick vacuum and wipe-down.
Every surface needs attention, walls, baseboards, inside cabinets, window sills, light fixtures, ceiling fans, everything.
Kitchen Focus Areas:
- Inside the oven (yes, really scrub it)
- Under and behind the refrigerator
- Inside all cabinets and drawers
- Grout lines on counters and backsplash
- Range hood filters
Bathroom Essentials:
- Scrub tile and grout
- Remove soap scum and hard water stains
- Clean inside vanity cabinets
- Check for and treat any mildew
- Polish fixtures until they shine
Throughout the Unit:
- Wipe down all doors and door frames
- Clean light switches and outlet plates
- Wash windows inside and out
- Vacuum and mop all floors
- Steam clean carpets (and give them 24 hours to dry)
Here's the speed-to-market advantage: a truly clean unit photographs better, shows better, and rents faster. Tenants can tell the difference between "clean enough" and "move-in ready," and they'll pay market rate for the latter.
If you're managing multiple properties, this is where partnering with a professional make-ready service pays off. They can turn a unit in days while you focus on marketing and leasing.
Step 4: Test Every System and Safety Device
You've fixed things and cleaned everything. Now make sure it all actually works.
Walk through the unit and test:
Electrical Systems:
- Flip every light switch
- Test all outlets
- Check that ceiling fans work on all speeds
- Verify thermostat controls the HVAC properly
Plumbing:
- Run all faucets and check for leaks
- Test shower pressure and drainage
- Flush toilets and check for running water
- Verify no leaks under sinks
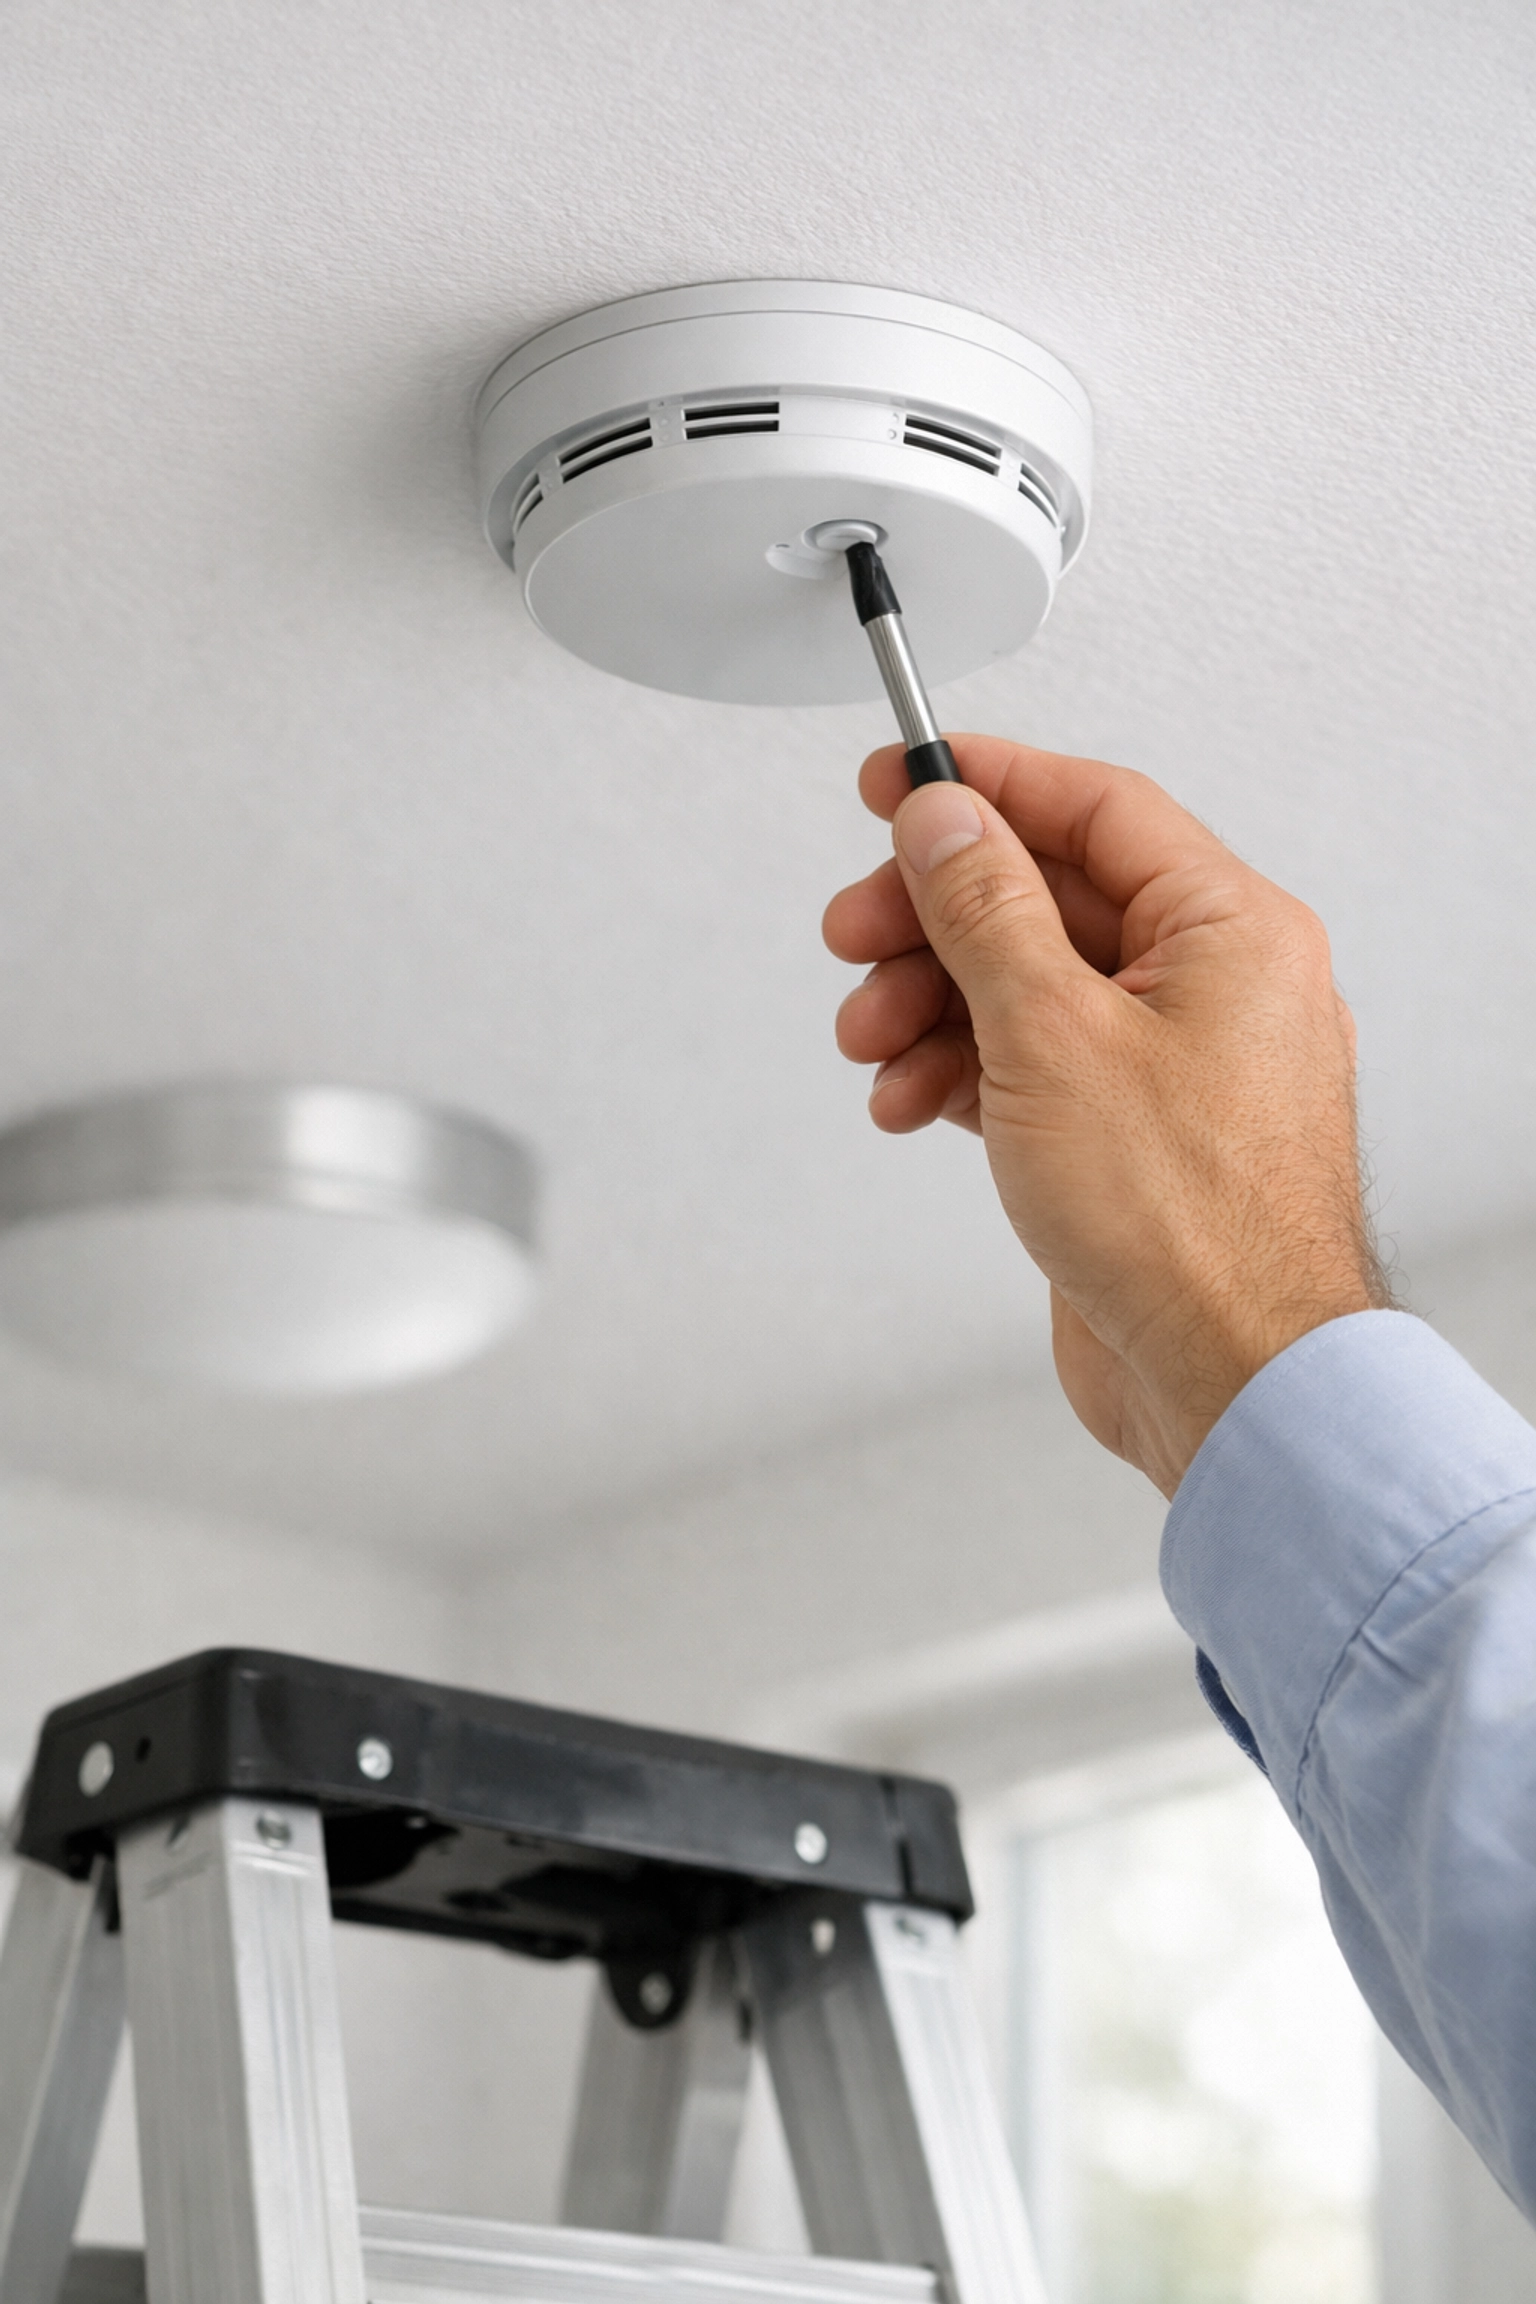
Safety Equipment:
- Test smoke detectors in every required location
- Check carbon monoxide alarms
- Replace batteries even if they're "working fine"
- Verify fire extinguisher pressure (if provided)
Security:
- Change all locks or rekey them
- Reset any smart home devices
- Test garage door openers
- Make sure all windows lock properly
Don't skip this step. Finding a broken disposal or faulty smoke detector during a showing wastes everyone's time and makes you look unprofessional. Discovering it after move-in creates an emergency repair situation and an unhappy tenant from day one.
Step 5: Final Walkthrough and Staging Touches
You're almost there. Do one last walkthrough with fresh eyes.
Look for anything you or your team missed:
- Dust on ceiling fan blades
- Smudges on mirrors or windows
- Debris in corners or closets
- Lingering odors
Then add those finishing touches:
Small Updates That Make a Big Impact:
- Install new air filters
- Put in fresh batteries for remotes (if applicable)
- Replace any burned-out light bulbs
- Add a new shower curtain liner in bathrooms
- Make sure all cabinet doors are properly aligned
For Showings:
- Open blinds to let in natural light
- Turn on a few lights to create warmth
- Adjust the thermostat to a comfortable temperature
- If the unit has been vacant for weeks, run water briefly to clear any stale odors from drains
This final walkthrough is also your chance to take listing photos if you're handling marketing in-house. A well-presented unit photographs beautifully and attracts quality tenants faster.

The Bottom Line: Speed Equals Profit
Look, apartment turnovers will never be your favorite part of property management. But with a solid system in place, they don't have to be stressful or drag on forever.
Every day you shave off your turnover time is money back in your pocket: and less pressure to negotiate on rent just to fill the unit. Property managers who follow a repeatable process like this consistently hit their target occupancy rates and maintain higher rent prices.
Remember: inspection, repairs, cleaning, testing, and final verification. Follow these five steps in order, don't skip anything, and your turnovers will become predictable instead of chaotic.
Need help handling the cleaning and make-ready process across multiple properties? That's exactly what professional turnover services are for: letting you focus on the business side while they handle the execution. Check out specialized make-ready solutions that work with property managers nationwide.
Your next tenant deserves a great first impression. More importantly, your bottom line deserves the revenue from a quick, professional turnover.