
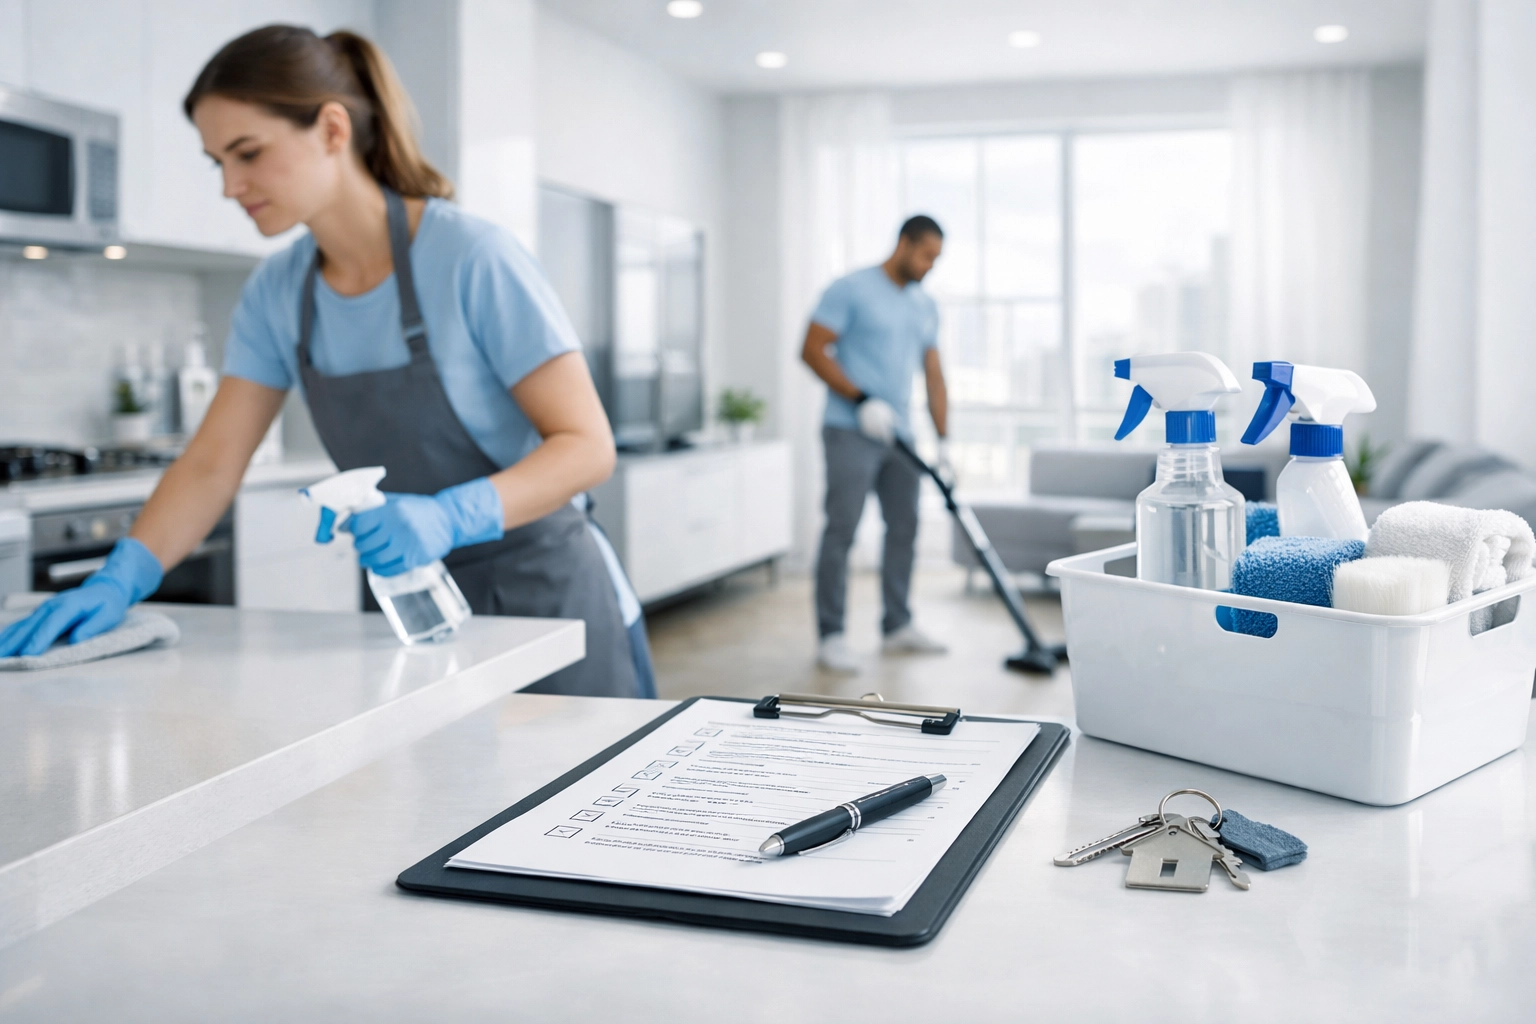
Categories: Property Management, Apartment Turnovers, Make-Ready Cleaning
Every day a unit sits vacant costs you money. We're talking $50-$100 daily in lost rent, plus carrying costs that add up fast. The difference between a 7-day turnover and a 14-day turnover? That's easily $500-$700 straight off your bottom line.
Here's the thing most property managers miss: speed isn't about cutting corners. It's about having a system that prevents rework. When your cleaning crew has to come back twice because they missed something or did things in the wrong order, you've just added 2-3 days to your turnover timeline.
This checklist follows a simple principle that cuts turnover time significantly: top-down, dry-first, wet-last. No backtracking. No re-cleaning. Just one efficient pass that gets units rent-ready fast.
Step 1: Whole-Unit Reset (Start Here Every Time)
Walk into the unit and resist the urge to start scrubbing whatever looks dirtiest. That's how you end up cleaning the same surfaces twice.
Start by clearing everything out. All trash, furniture remnants, random items the previous tenant left behind, everything goes. This gives your cleaning team a blank canvas and prevents the frustrating scenario where they clean around stuff, then have to re-clean after removing it.
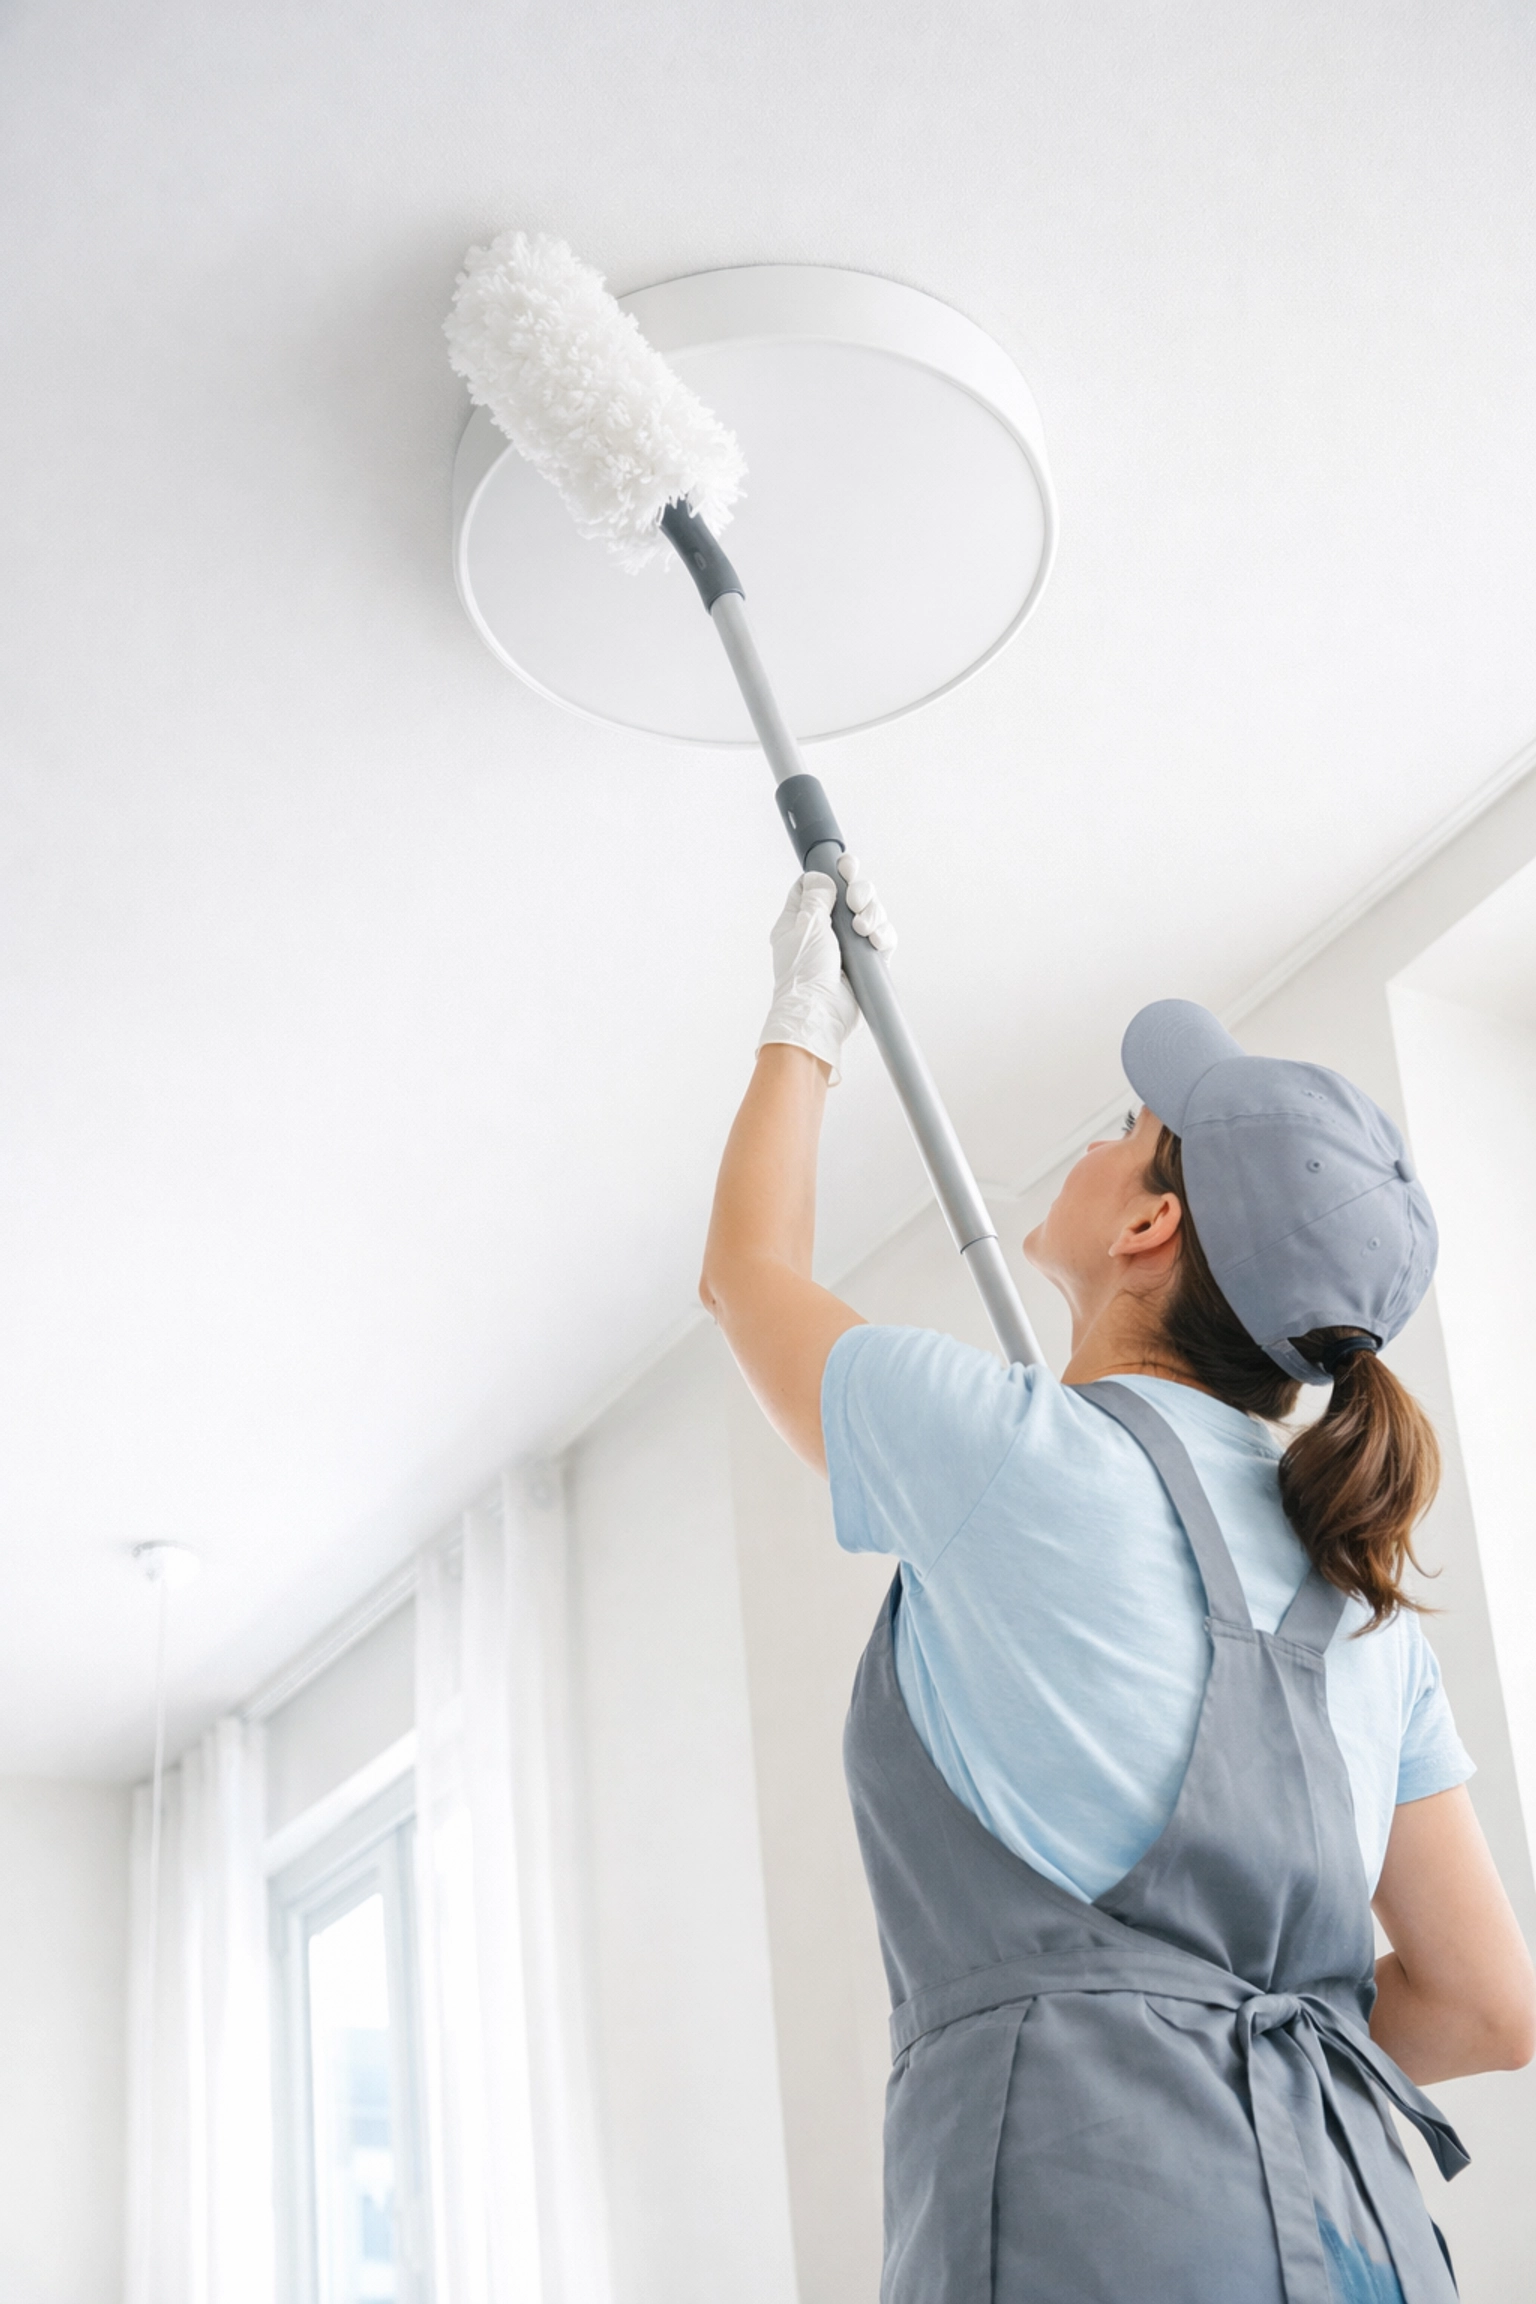
Now work from the ceiling down. Hit ceiling corners with a duster to knock down cobwebs. Clean ceiling fans, light fixtures, and air vents. These spots collect dust that'll fall down onto your freshly cleaned surfaces if you do them last.
Move to the walls next. Look for scuff marks around light switches, door frames, and anywhere furniture was pushed against the wall. A magic eraser and some elbow grease work wonders here. Don't forget door handles and light switches, these high-touch surfaces are the first thing prospective tenants notice when they walk through.
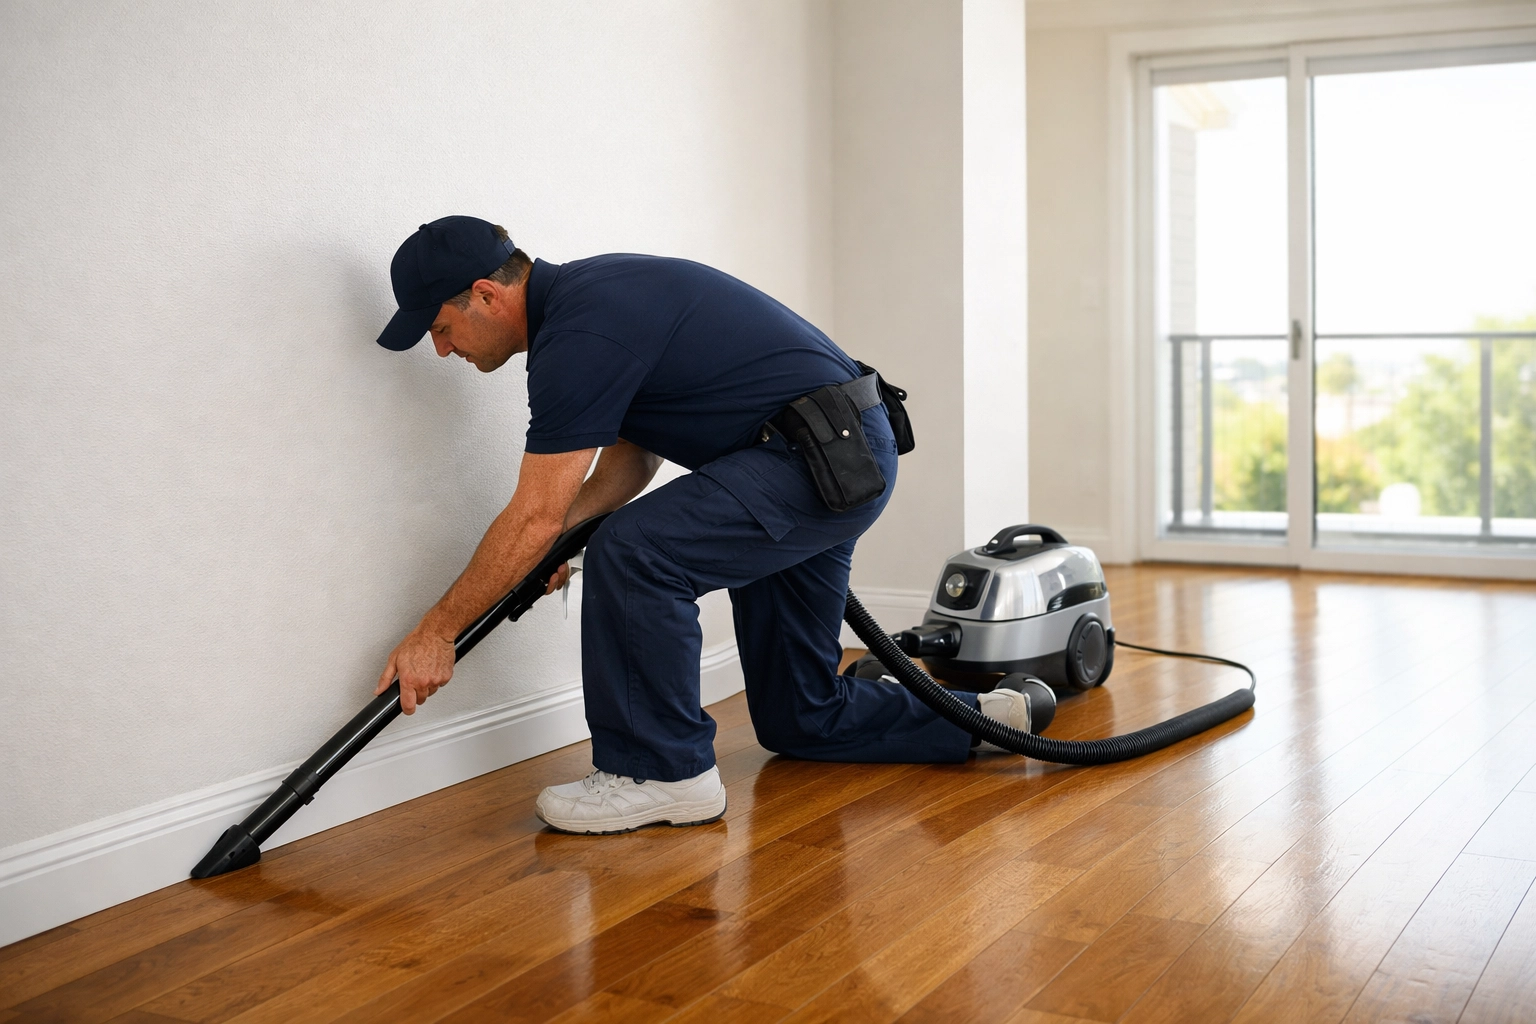
Finish this phase by dusting baseboards and vacuuming all edges and corners. You're not doing a deep floor clean yet, just removing the loose debris so it doesn't turn into muddy streaks when you mop later.
Time saver: This whole-unit reset typically takes 20-30 minutes but prevents at least an hour of rework later.
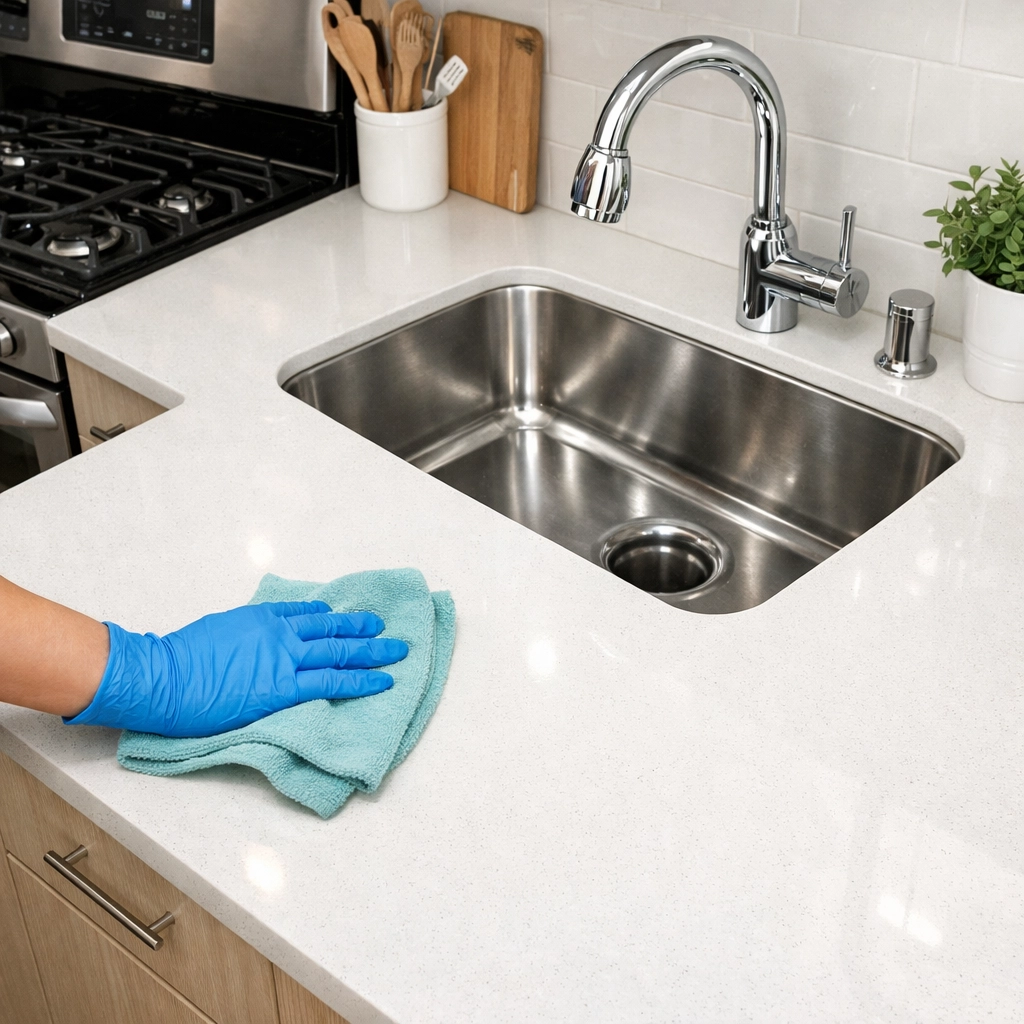
Step 2: Kitchen (Your Make-or-Break Room)
Kitchens are where most complaints come from. They're also where most re-cleaning requests happen. If you're going to allocate extra time anywhere, make it the kitchen.
Start with countertops and sinks. Clean and polish until they shine. Run the garbage disposal with some ice cubes and citrus peels if there's any funky smell. Pour baking soda down the drain, let it sit for 15 minutes, then flush with hot water and vinegar. Cheap fix that eliminates most odor issues.
The dishwasher needs attention too. Wipe down the door seal, that rubber gasket where mold loves to hide. Check the filter area at the bottom. You'd be surprised how many turnovers skip this, then the new tenant runs their first load and gets a maintenance call about a "broken" dishwasher that just needed cleaning.
Here's the order that matters for stubborn kitchen issues: degrease first, then deodorize, then ventilate, then do your final wipe-down. Trying to deodorize over grease just seals in the smell. Not fun.
Sweep thoroughly, getting under appliances if you can pull them out slightly. Then mop, hitting every corner. The space between the stove and counter? Yeah, that gross gap counts too.
Step 3: Bathrooms (Detail Work Pays Off)
Apply toilet bowl cleaner the moment you walk into the bathroom. Let it sit and do its job while you handle everything else. This dwell time means you're not scrubbing twice as hard later.
Start with the easy wins: mirrors and vanity lights. A streak-free mirror takes 30 seconds and makes the whole bathroom feel cleaner.
Now hit the sink and faucet. Get in around the base of the faucet where gunk builds up. Clean the tub, shower walls, and fixtures. Pay special attention to grout lines, that's where mildew announces itself. If you spot any caulk that's failed or moldy, note it for repairs. Cleaning won't fix it, and the next tenant will definitely notice.
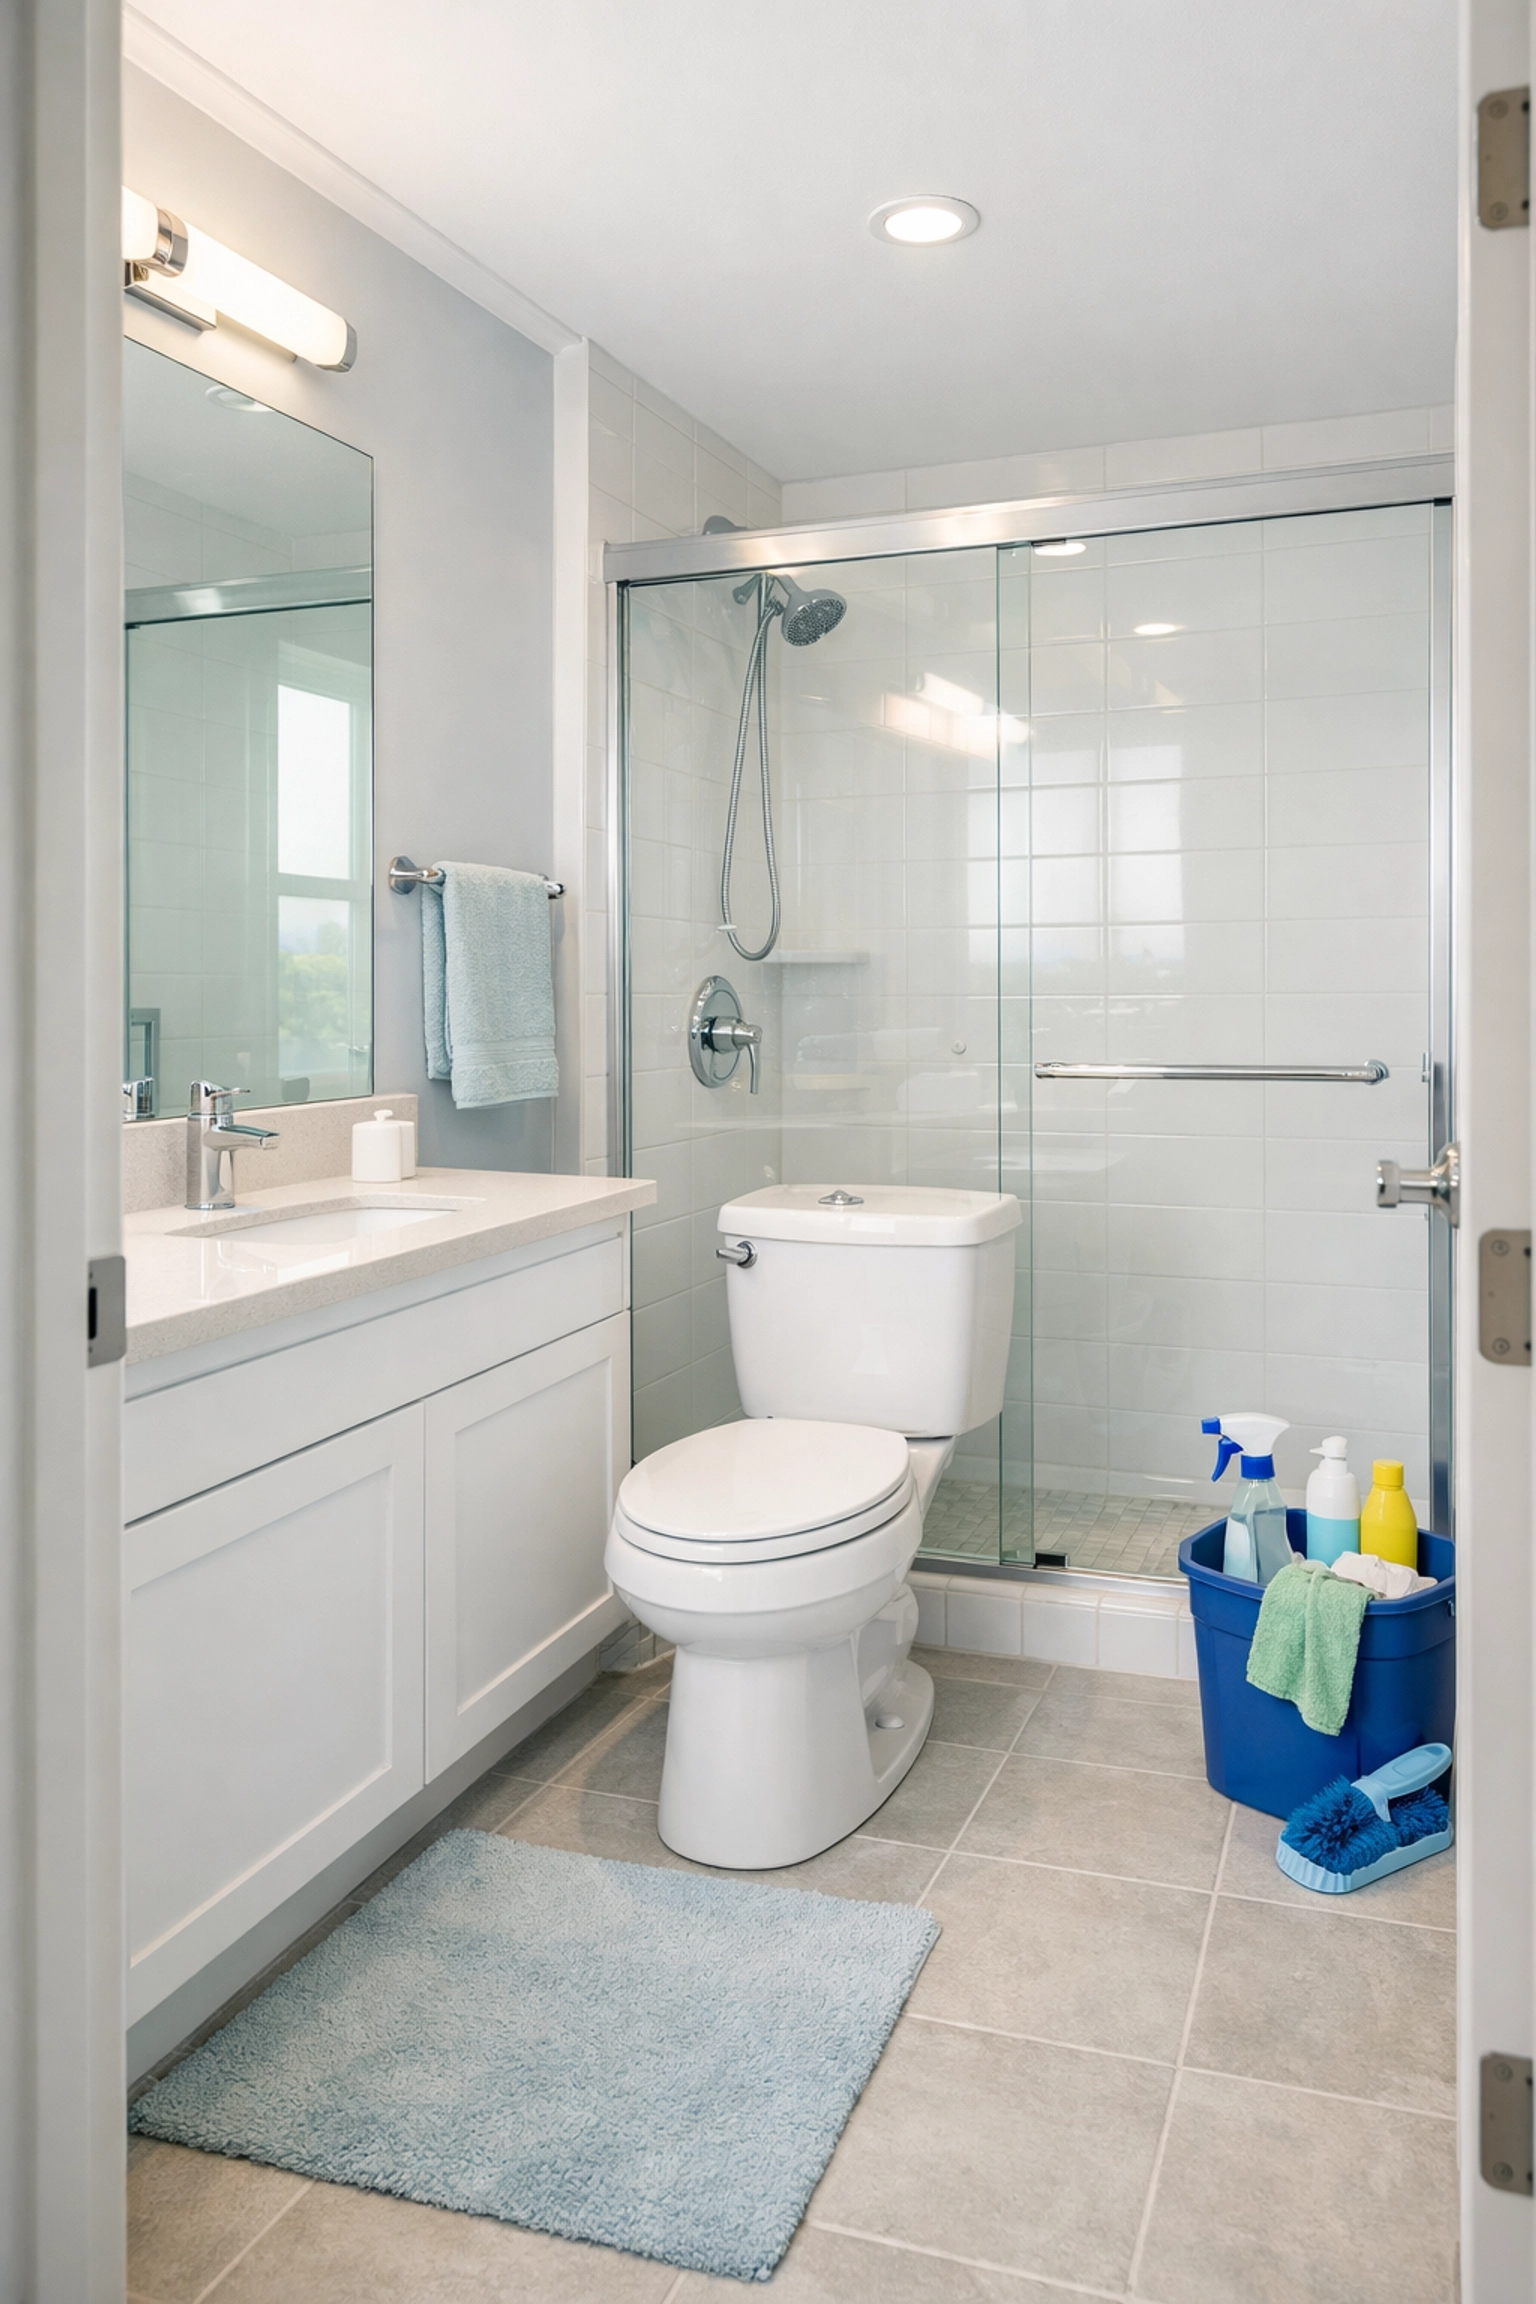
The toilet needs a full treatment: inside the bowl (that cleaner should be ready now), around the tank, the base, and yes, behind it. That space between the toilet and the wall? It's gross, we know, but it has to be cleaned.
Sweep first, then mop. Get into the corners and that tight spot behind the toilet. These details separate a "clean enough" bathroom from a "wow, this is spotless" bathroom that closes deals.
Step 4: Bedrooms and Living Areas (The Details Matter)
Windows make a huge difference in how clean a space feels. Start with window sills and tracks, vacuum out debris first, then wipe clean. Clean the blinds (yes, both sides), then tackle the glass itself. Interior windows only unless you're doing a deep exterior clean.
Closets get overlooked all the time. Wipe down shelves and clothing rods. Check for dust bunnies in corners. A clean closet signals to prospects that the whole unit has been thoroughly handled.
Clean ceiling fans and light fixtures in each room. These are eye-level items that people definitely notice during showings.
Look for wall marks where furniture was pushed against surfaces. Headboards, couch backs, chair rails, these all leave marks. Spot-clean them now because they're glaringly obvious in an empty unit.
Vacuum the entire space thoroughly. If you're planning to treat any carpet stains, note them now for the final floor phase.
Step 5: Floors (Finish Strong)
This is where everything comes together. You've already done the hard work of getting surfaces clean without dropping debris on the floors. Now you can finish efficiently.
For hard floors: vacuum first to pick up any remaining debris, then mop. Use the right cleaner for your floor type, wood, tile, and vinyl all have different requirements. Let everything dry completely before you even think about calling the unit done.
For carpets: vacuum thoroughly first. Get into corners, along baseboards, under where furniture was. If there are stains, professionally clean or consider replacement if the carpet is worn or has odor issues that won't resolve. Sometimes spending on new carpet actually speeds up your lease-up because prospects don't have that "ugh, carpet" reaction.
Don't forget transitions between rooms, thresholds, and the areas behind doors. These spots get missed constantly but are right at eye level when someone's walking through the unit.
The 10-Minute Quality Walk
Before you mark that unit as rent-ready, do a final walk-through. Give yourself 10 minutes to verify:
- Windows are fingerprint-free and streak-free
- All trash and cleaning supplies are removed
- Light switches all work and are clean
- No cobwebs in corners
- Floors are completely dry
- Nothing smells musty or like cleaning chemicals
This quick quality check catches the little issues that would otherwise require a callback. Ten minutes now saves hours later.
Why This Order Works
Following this top-down, dry-first, wet-last sequence prevents the most common turnover mistakes:
You're not knocking dust onto clean floors. You're not mopping around trash that should've been removed first. You're not re-cleaning surfaces because you did wet work before dry work.
Most cleaning crews can complete a standard 2-bedroom unit in 4-6 hours following this system, versus 8-10 hours with a less organized approach. That time savings directly translates to getting units back on the market faster.
The faster you get units rent-ready, the less you lose to vacancy. It's that simple.
Need help systematizing your turnover process across multiple properties? Check out more resources at MH JaniJournal for property management cleaning solutions that actually work.