
When a tenant moves out, the clock starts ticking. Every day that apartment sits empty is lost revenue. But rush the cleaning, and you'll get complaints from new tenants, or worse, they'll walk away from the lease.
The secret? A systematic apartment turnover cleaning checklist that your team can follow every single time. This 15-step process will help you get units rent-ready faster while maintaining the quality standards that keep tenants happy and reviews positive.
Preparation Phase: Set Yourself Up for Success
Step 1: Inspect and Document Everything
Walk through the entire unit before you touch a single cleaning supply. Compare what you see against the move-out inspection notes. Take photos of problem areas. This 10-minute investment upfront prevents surprises later and helps you plan exactly what needs attention.
Step 2: Clear Out All Trash and Abandoned Items
Remove everything that doesn't belong, trash, old furniture, random belongings left behind. Don't skip this step. You can't properly clean around clutter, and you'll just end up moving things twice. Follow your property's disposal protocols, especially for items that need special handling.
Step 3: Get Your Supplies Organized
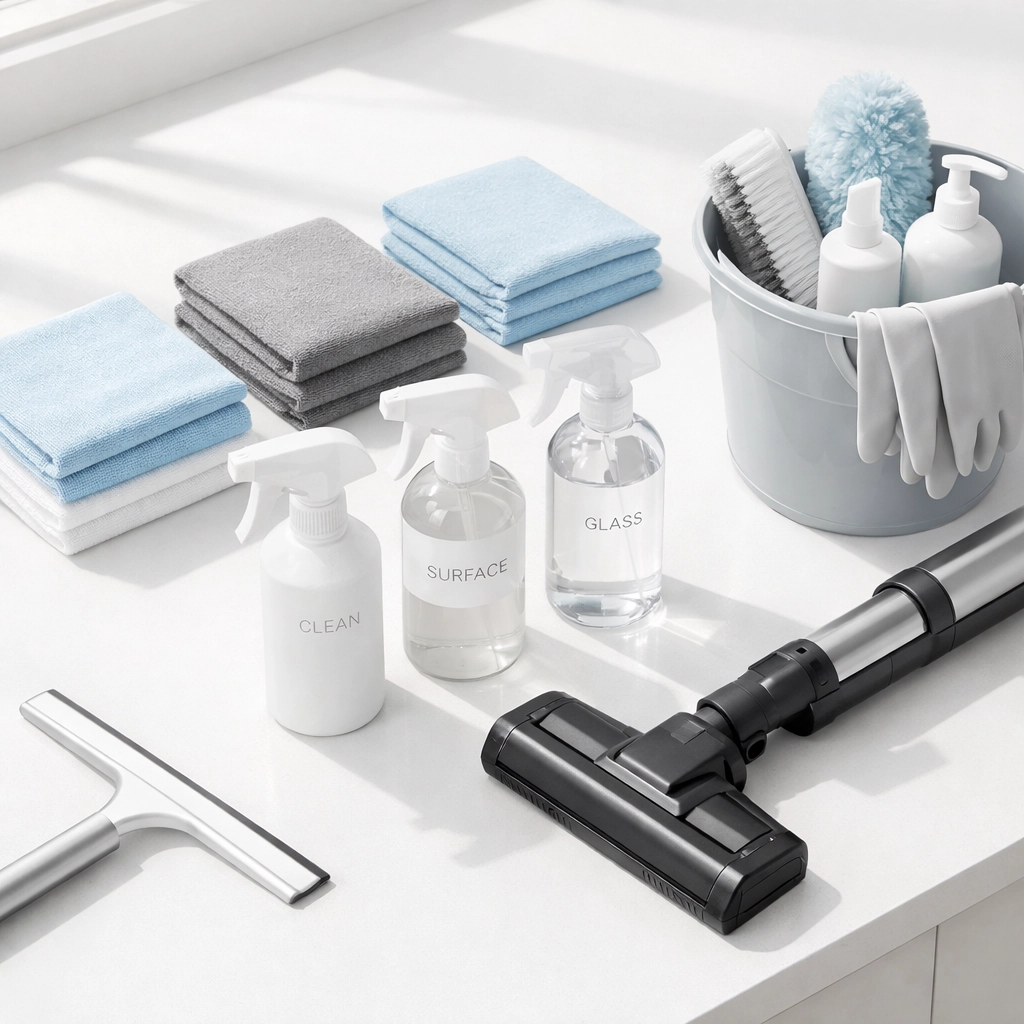
Nothing kills momentum like running back and forth for forgotten supplies. Before you start, make sure you have:
- All-purpose cleaner and degreaser
- Disinfectant spray
- Glass cleaner and toilet bowl cleaner
- Microfiber cloths, scrub brushes, and sponges
- Vacuum and mop with fresh pads
- Gloves and any other PPE your team needs
Deep Cleaning Phase: Work Smart, Not Hard
Step 4: Start High, Finish Low
Begin at the ceiling and work your way down. Hit ceiling corners for cobwebs, then move to vents, ceiling fans, and light fixtures. Next comes walls, doors, door frames, handles, and light switches. Finish with baseboards. This top-to-bottom approach means you're not re-cleaning surfaces when dust falls from above.
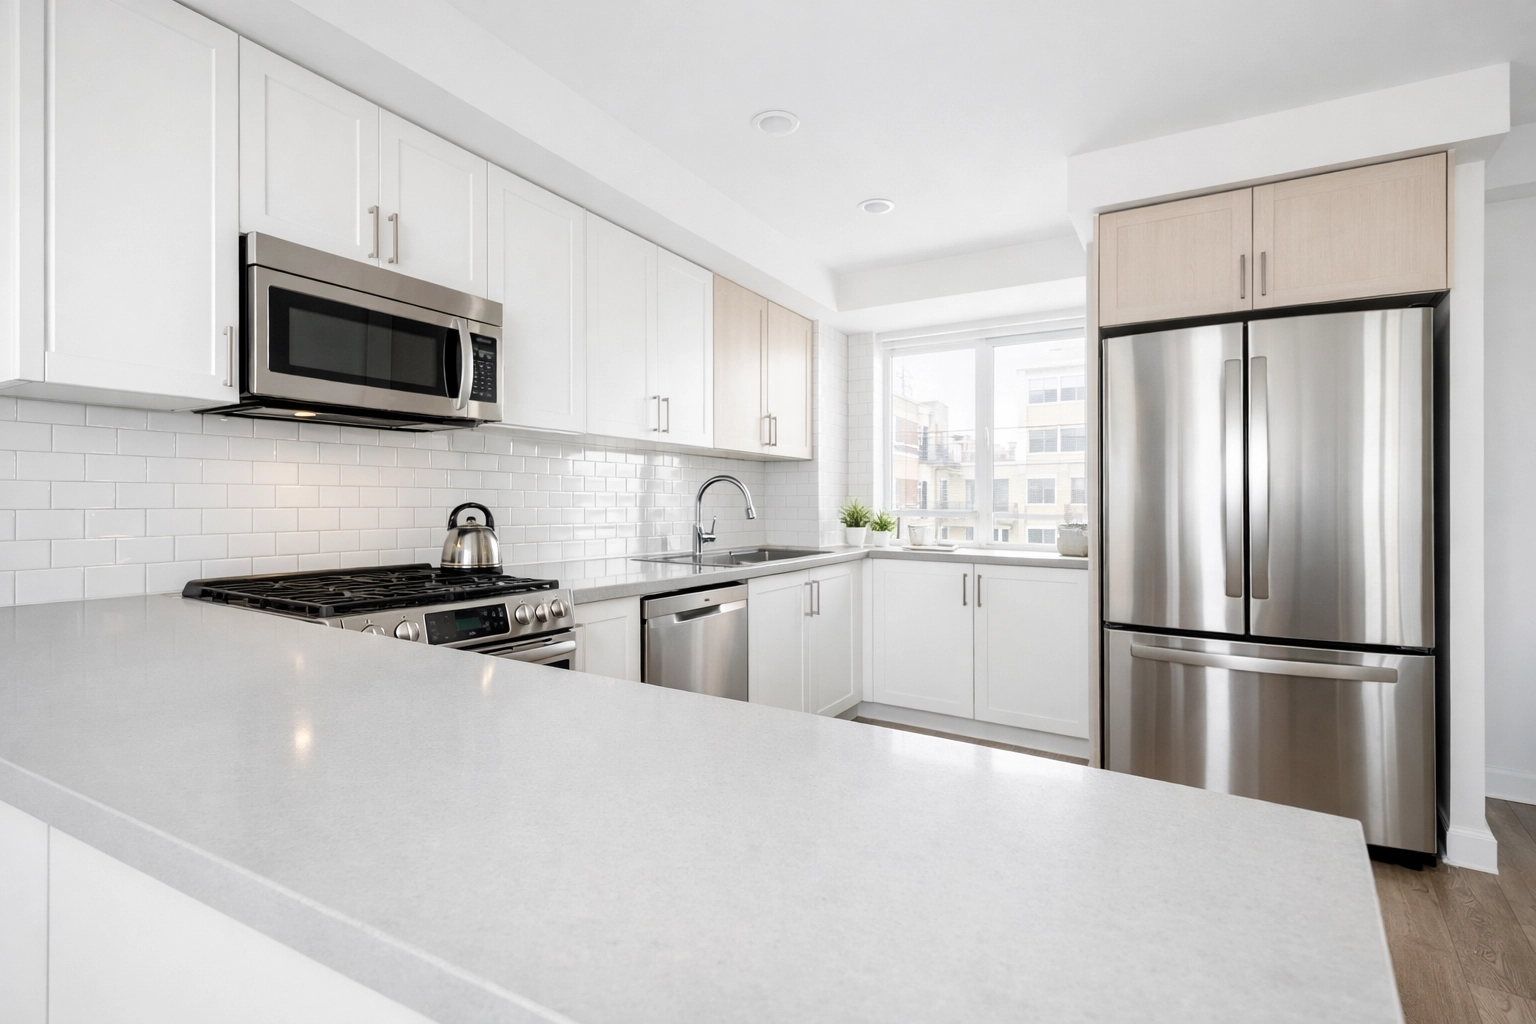
Step 5: Attack the Kitchen
Kitchens make or break a showing. Start by degreasing everything, counters, backsplash, inside cabinets and drawers. Pull out the stove and fridge to clean behind them (yes, really). Scrub the sink and faucet until they shine. Check the dishwasher seal and filter. Run the garbage disposal with ice and citrus peels to knock out odors.
Step 6: Make Bathrooms Sparkle
Apply toilet bowl cleaner first and let it sit while you tackle other surfaces. Clean mirrors, then the vanity and sink. Scrub the tub and shower walls, paying special attention to grout lines where mildew loves to hide. Check the caulking, if it's cracked or black with mold, flag it for maintenance. Finish by scrubbing the toilet inside and out.
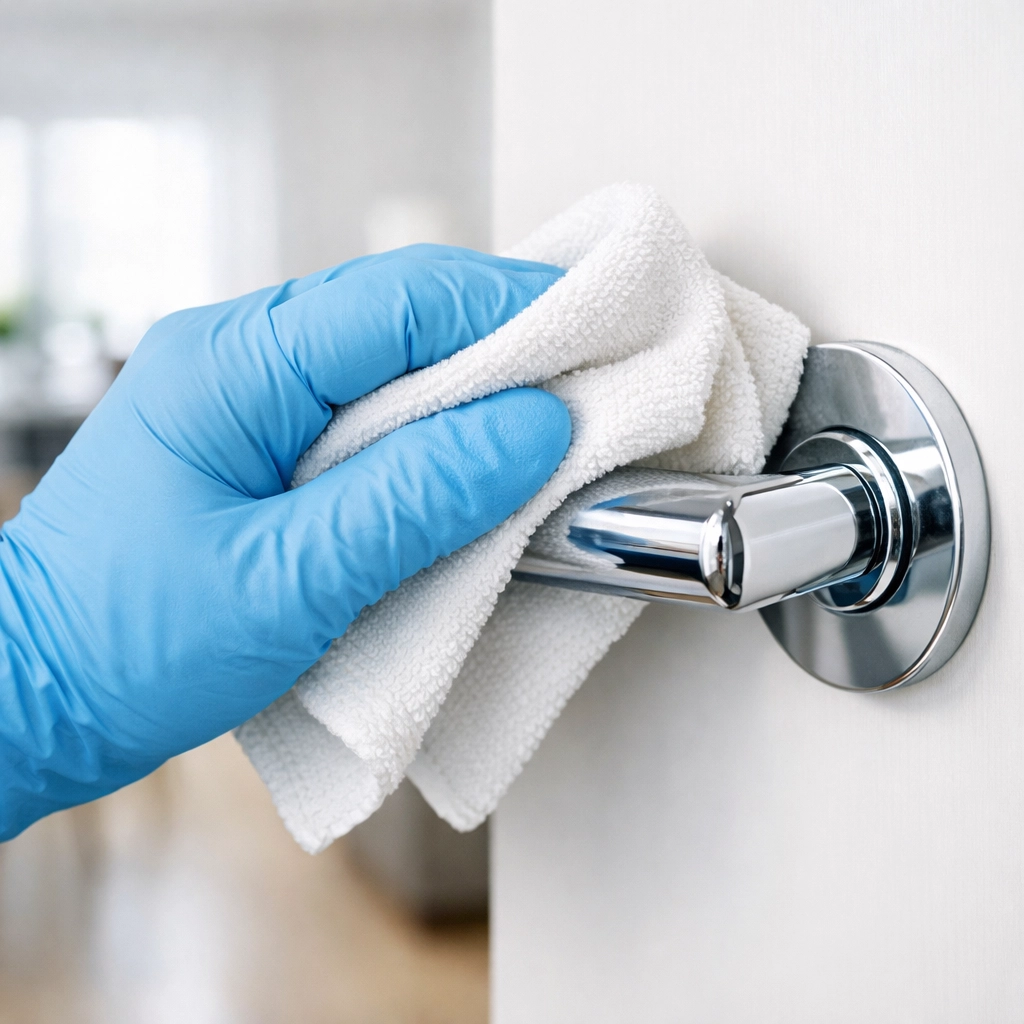
Step 7: Disinfect High-Touch Surfaces
In today's world, tenants notice this stuff. Hit every light switch, door handle, cabinet pull, and thermostat with disinfectant. Don't just wipe, let the disinfectant sit for the contact time listed on the bottle (usually 3-5 minutes) to actually kill germs.
Step 8: Detail Bedrooms and Living Areas
Clean window sills, blinds, and tracks (these get surprisingly dirty). Wipe down interior windows. In closets, clean the shelving and rods, previous tenants may have left dust or shelf liner residue. Spot-clean walls where furniture was pushed against them. Don't forget ceiling fans in bedrooms.
Step 9: Handle Floors Properly
For carpets, vacuum thoroughly in multiple directions. If the carpet needs professional cleaning or has permanent stains, now's the time to decide whether to clean or replace. For hard floors, vacuum or sweep first to remove debris, then mop. Critical point: allow floors to dry completely before the final walkthrough. Depending on ventilation and humidity, this could take 2-24 hours.
Specialized Cleaning: The Details That Matter
Step 10: Get Professional Help When Needed
Some situations need more than a standard clean. Pet odors, smoke damage, or stubborn stains often require professional carpet cleaning with hot water extraction. This isn't a luxury, it's an investment that helps you lease units faster at full price. Budget for this on units with noticeable odors or heavy wear.
Step 11: Target Often-Missed Spots
Pull out your flashlight for this one. Check baseboards in every room, they collect dust and scuffs. Look in corners, under radiators, behind doors, and around appliances. Clean thresholds between rooms. These small details separate "clean enough" from "wow, this place is immaculate."
Step 12: Don't Forget Utility Areas
Laundry closets and utility spaces often get overlooked. Wipe down water heater closet doors, utility sinks, and shelving. Clean around washer/dryer hookups. Sweep thoroughly and clear out any cobwebs. These areas might not be glamorous, but tenants do notice them.
Final Steps: Cross the Finish Line
Step 13: Complete Maintenance Checks
Cleaning reveals maintenance issues. As you work, flag anything that needs repair. Check that all appliances work properly. Change HVAC filters. Test smoke detectors and carbon monoxide alarms. Look for water damage, leaky pipes, or clogged drains. Better to catch these issues now than after the new tenant moves in.
Step 14: Address Problem Areas
Kitchens and bathrooms drive most tenant complaints. If either space isn't absolutely spotless, go back and give it another pass. For units with lingering odors, consider additional measures like ozone treatment or air purifiers running overnight. Sometimes a second cleaning pass is faster than dealing with a disappointed prospect.
Step 15: Final Quality Walk-Through
This is your moment of truth. Walk through the unit as if you're a prospective tenant seeing it for the first time. Open cabinets. Run your hand along surfaces. Check corners. Look up at light fixtures. This 10-minute walk catches issues before they become problems and ensures the unit is truly move-in ready.
Pro Tips for Faster Turnovers
Follow the Order
Always complete dry cleaning tasks before wet ones. Work from cleanest to dirtiest areas. This prevents rework and saves time.
Use a Checklist Every Single Time
Even experienced cleaners miss things without a system. Print this checklist and check off each step. Consistency across all units maintains quality and speeds up the process.
Time Your Work
Track how long each step takes. Over time, you'll identify bottlenecks and opportunities to improve efficiency without cutting corners.
Plan for Drying Time
Schedule your turnovers so floors have adequate time to dry before showings. Nothing frustrates prospects more than walking into a unit with wet floors.
Know When to Outsource
For complex jobs or when you're understaffed, professional turnover cleaning services can actually save you money by getting units leased faster. Calculate the cost of vacancy versus the cost of outsourcing.
The Bottom Line
Apartment turnover cleaning doesn't have to be chaotic. With this 15-step checklist, you can systematically prepare every unit to the same high standard while minimizing vacancy time. The key is following the process consistently: no shortcuts, no skipped steps.
Remember, a thorough turnover clean isn't just about appearance. It's about protecting your property's reputation, commanding full rental rates, and keeping quality tenants happy from day one. Master this process, and you'll turn what used to be a stressful scramble into a smooth, predictable operation.
Need help keeping your apartment community consistently clean? Learn more about our make-ready and turnover cleaning services.